











Table of Contents
Key Takeaways
Verdict: This cute pumpkin ghost watercolor painting is a fun Halloween project for beginners. With simple shapes, warm pumpkin tones, and a glowing moon against a purple night sky, you can create a charming seasonal scene step by step.
- 6 Painting Steps: Sketch the main shapes, paint the witch hat, pumpkin, and ghost, create the moonlit background, and finish with bats, stars, and mini pumpkins.
- Color Palette: Combine yellow and orange for the pumpkin and moonlight with purple and black for the witch hat, night sky, and Halloween details.
- Key Techniques: Use layering for depth, the wet-on-wet technique for soft moonlight, and careful brushwork to preserve the ghost's white silhouette.
- Essential Supplies: Prepare watercolor paper, a medium round brush, a small detail brush, and optional masking fluid to keep the ghost bright and clean.
Ready for a little Halloween painting fun? In this easy Halloween watercolor tutorial, we'll paint a cute ghost wearing a witch hat, peeking out of a smiling pumpkin beneath a glowing moon. A mysterious purple sky, flying bats, and twinkling stars will complete this spooky-cute scene.
This watercolor painting is perfect for beginners. We'll start with the main characters, build a dreamy moonlit background, and finish with a few playful Halloween details. Grab your brushes, and let's get started!
What You Need for This Halloween Watercolor Painting
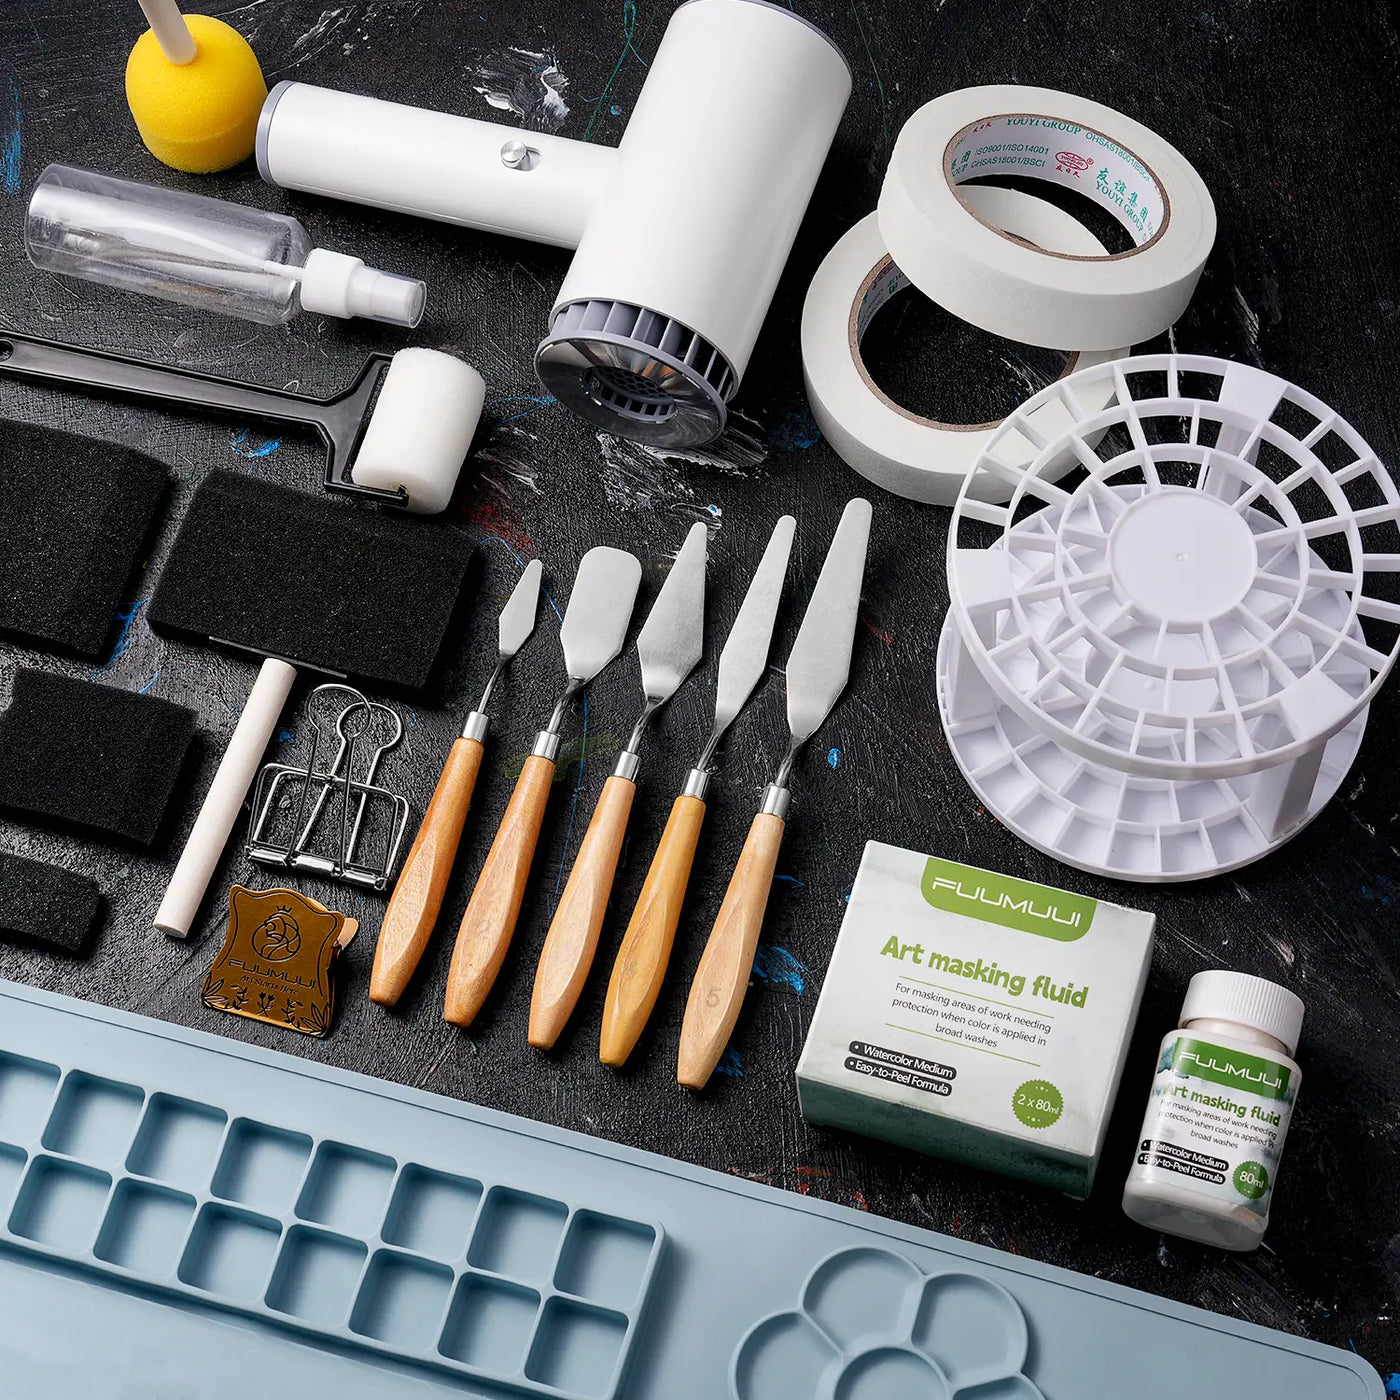
You don't need many supplies to create this festive scene. A few basic watercolor materials are all you need.
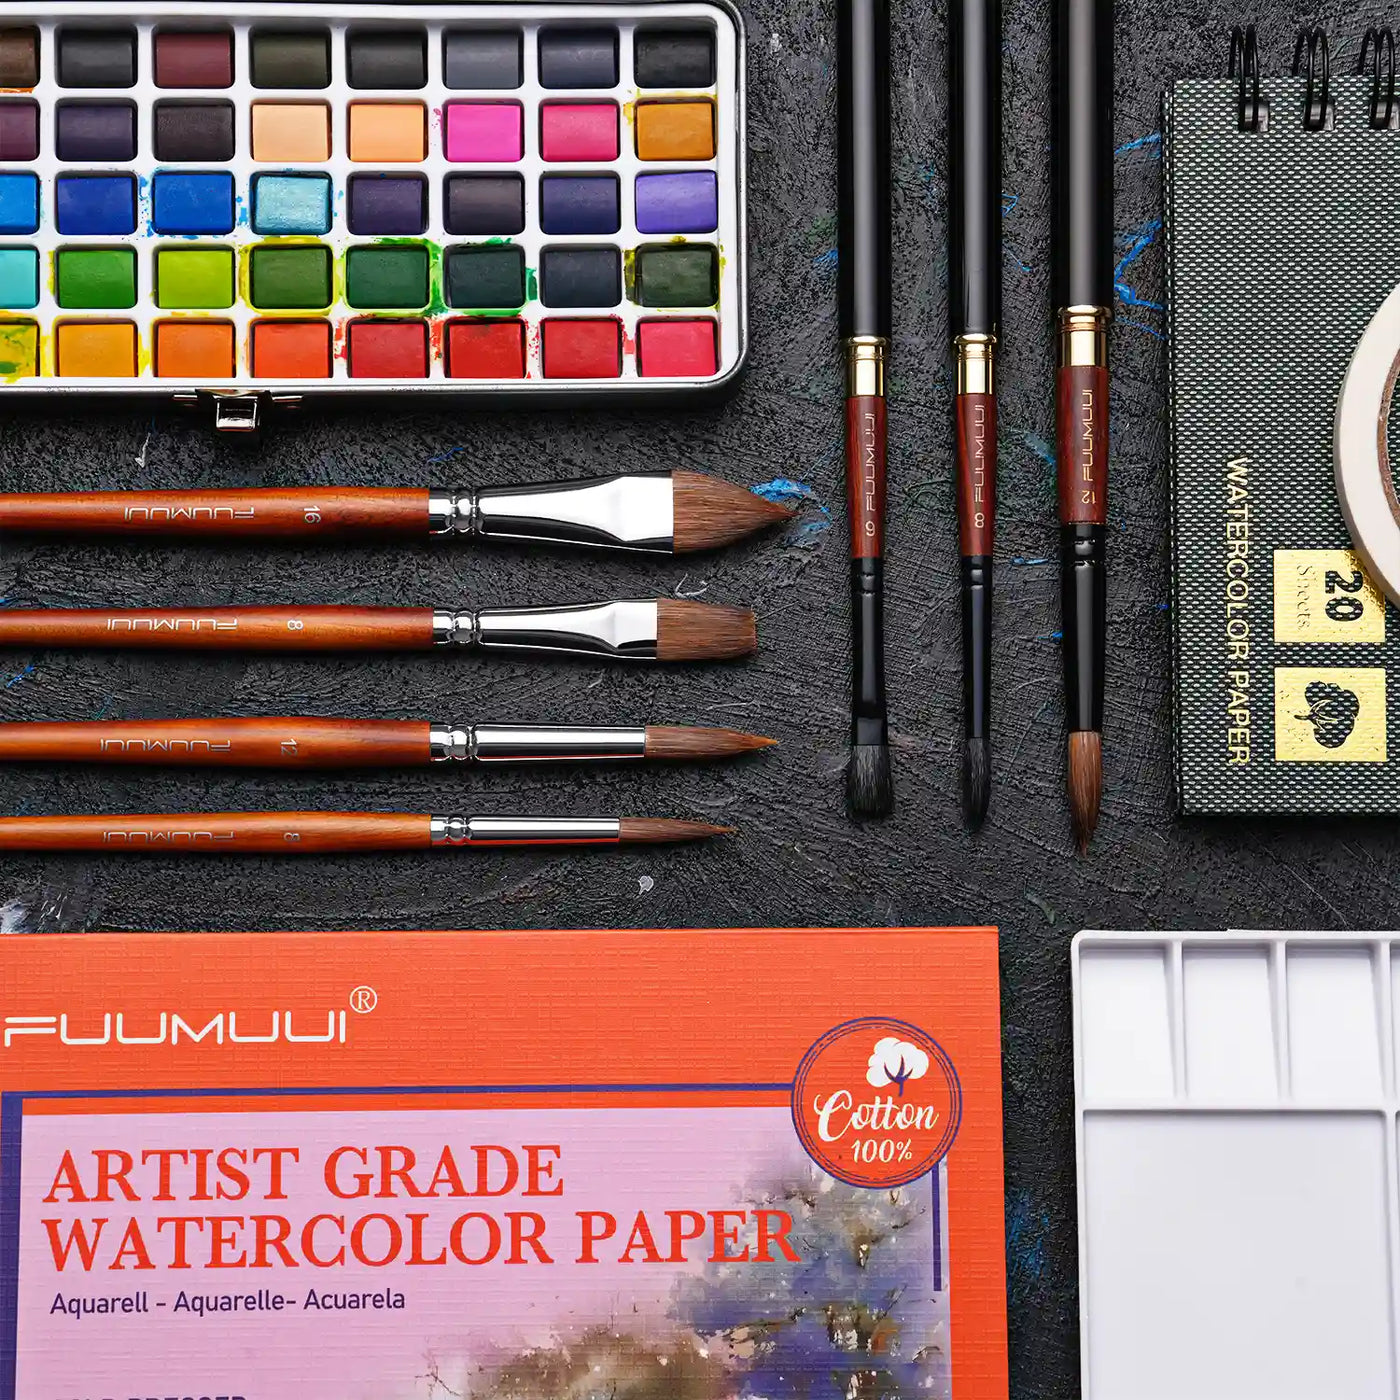
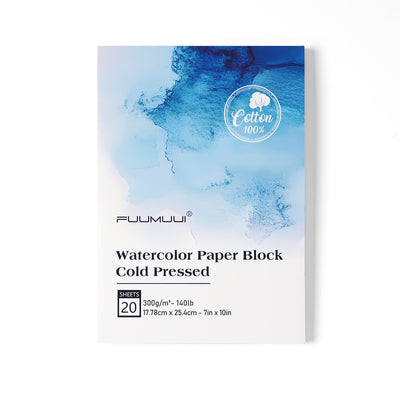
Paper: Watercolor paper or a blank watercolor card.
Watercolor paints: Yellow, orange, red, light purple, deep purple, and black or Payne's Gray.

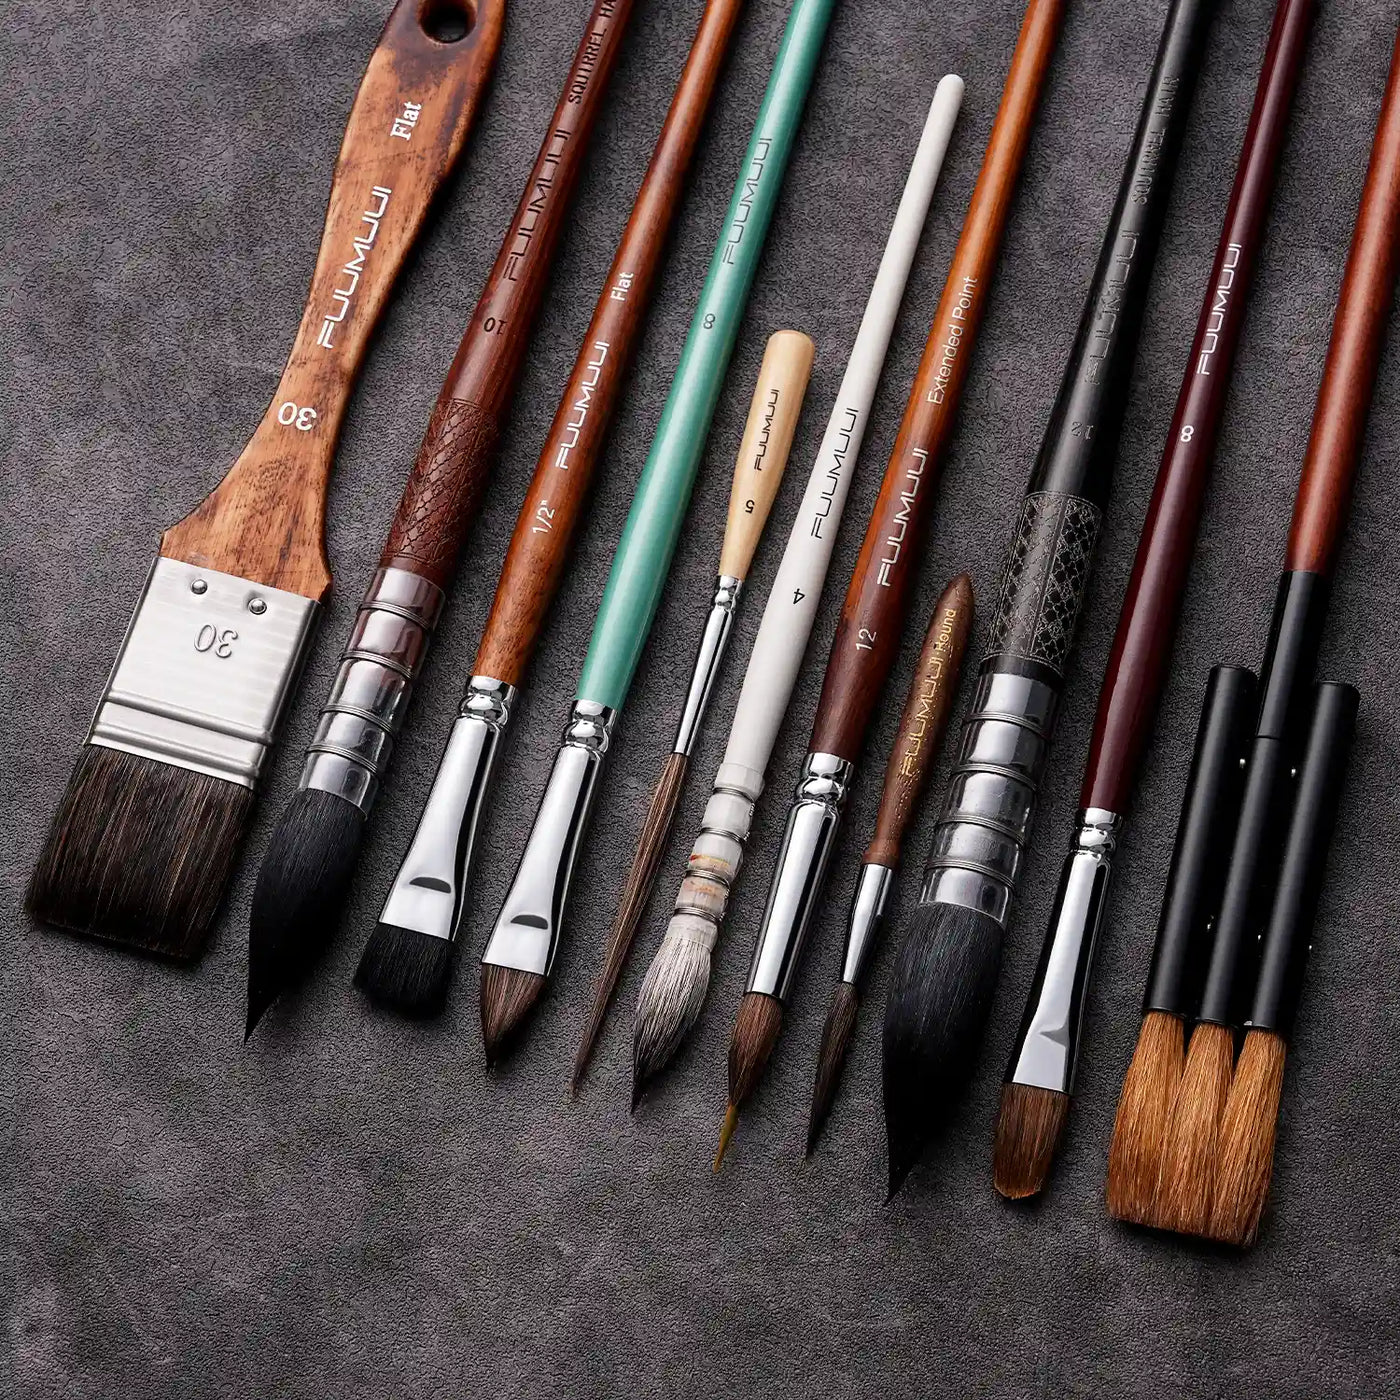
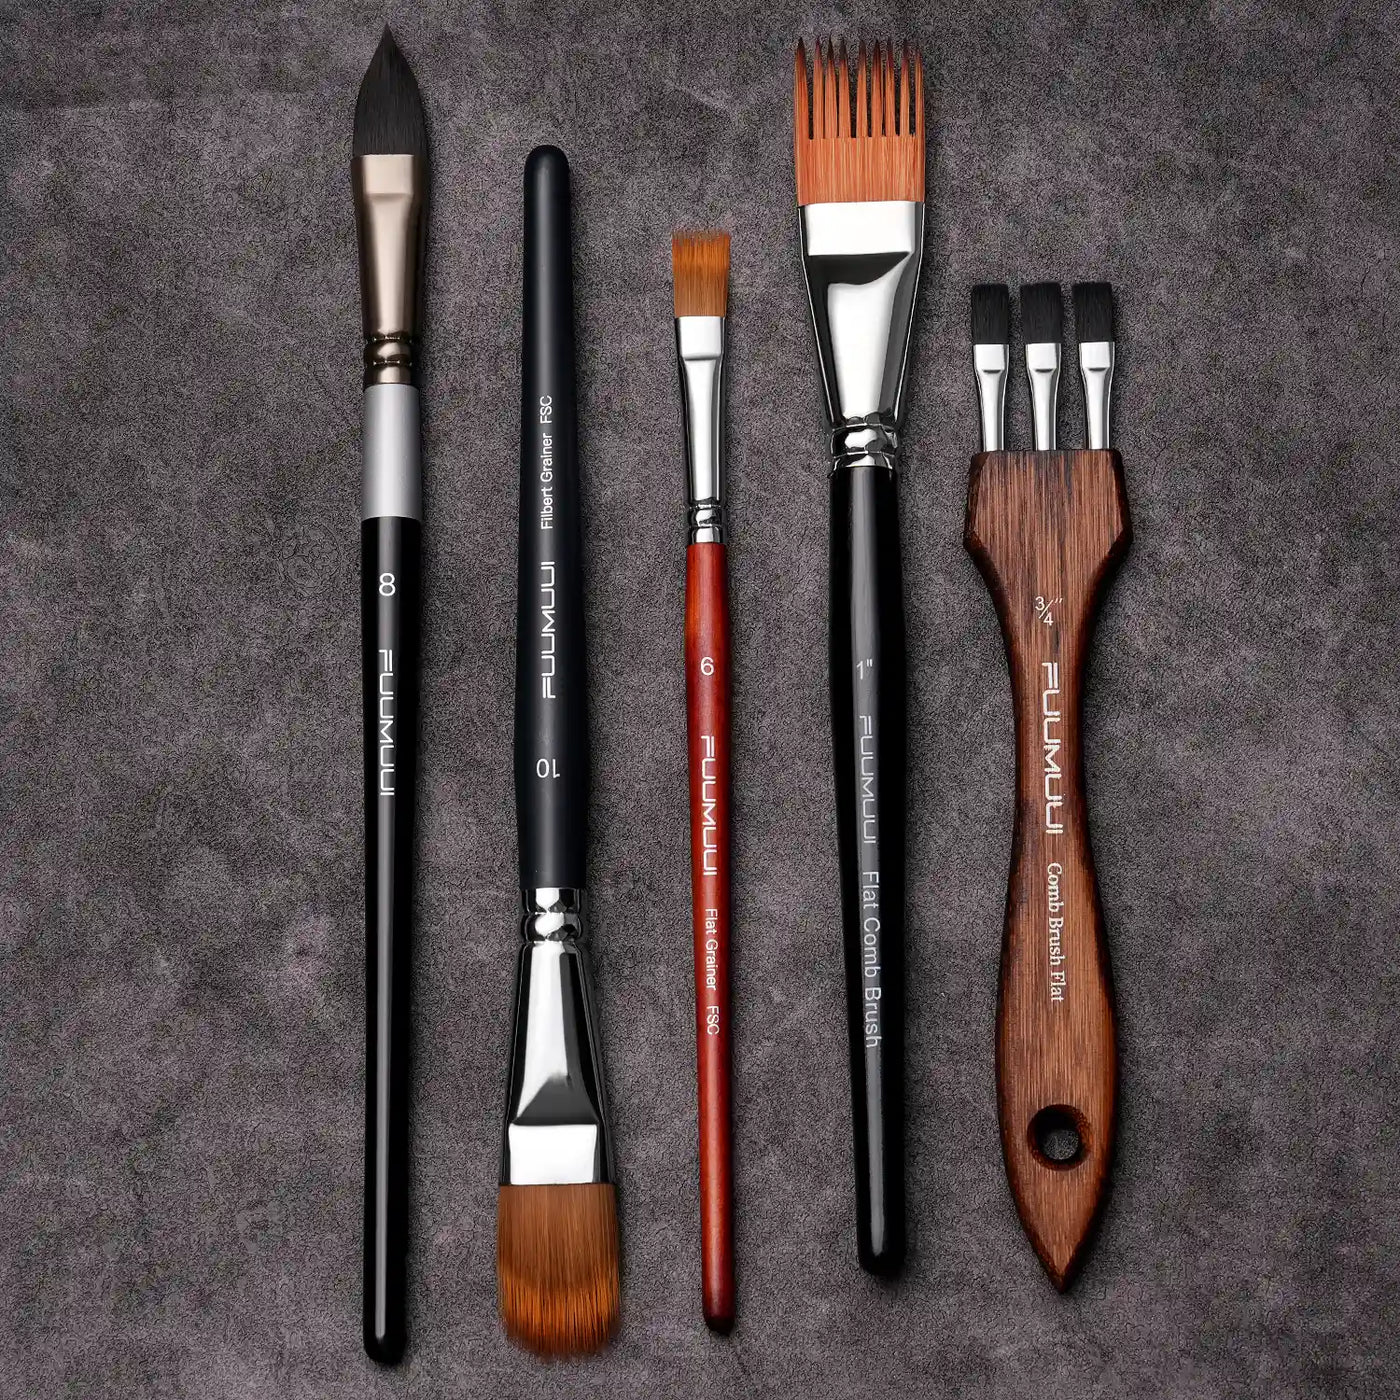
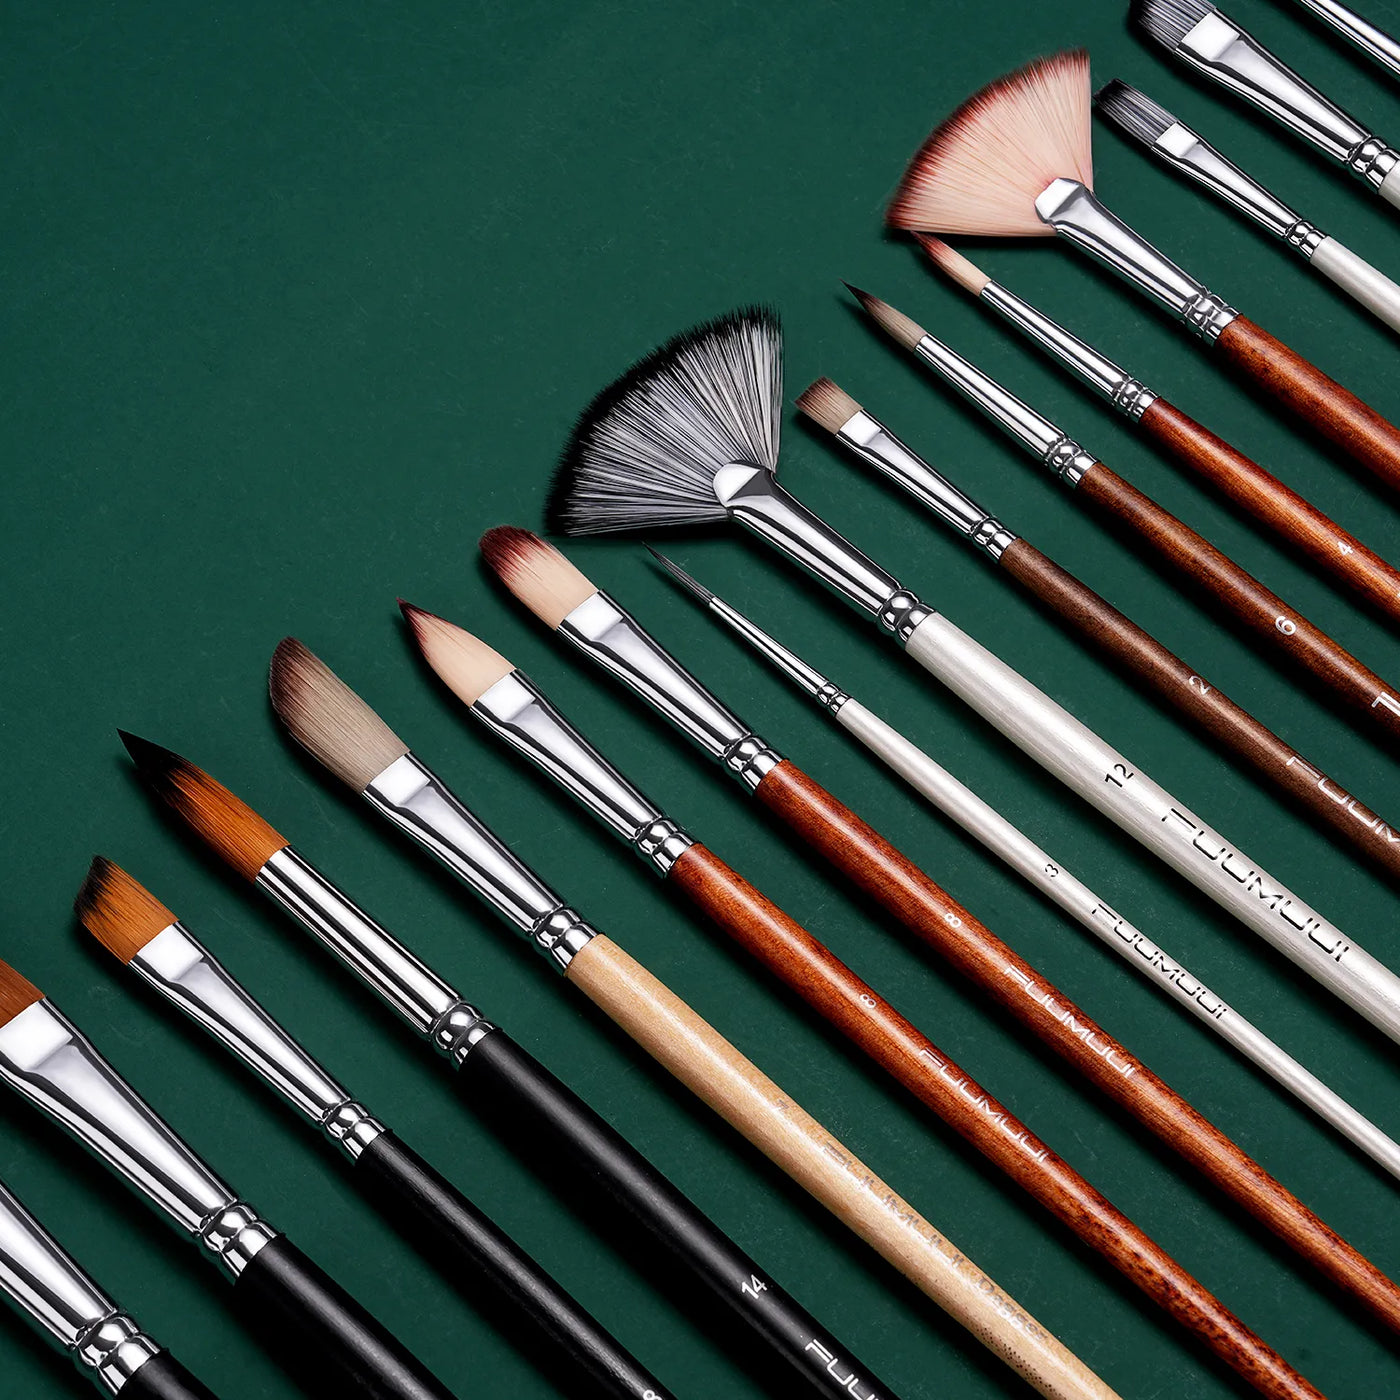
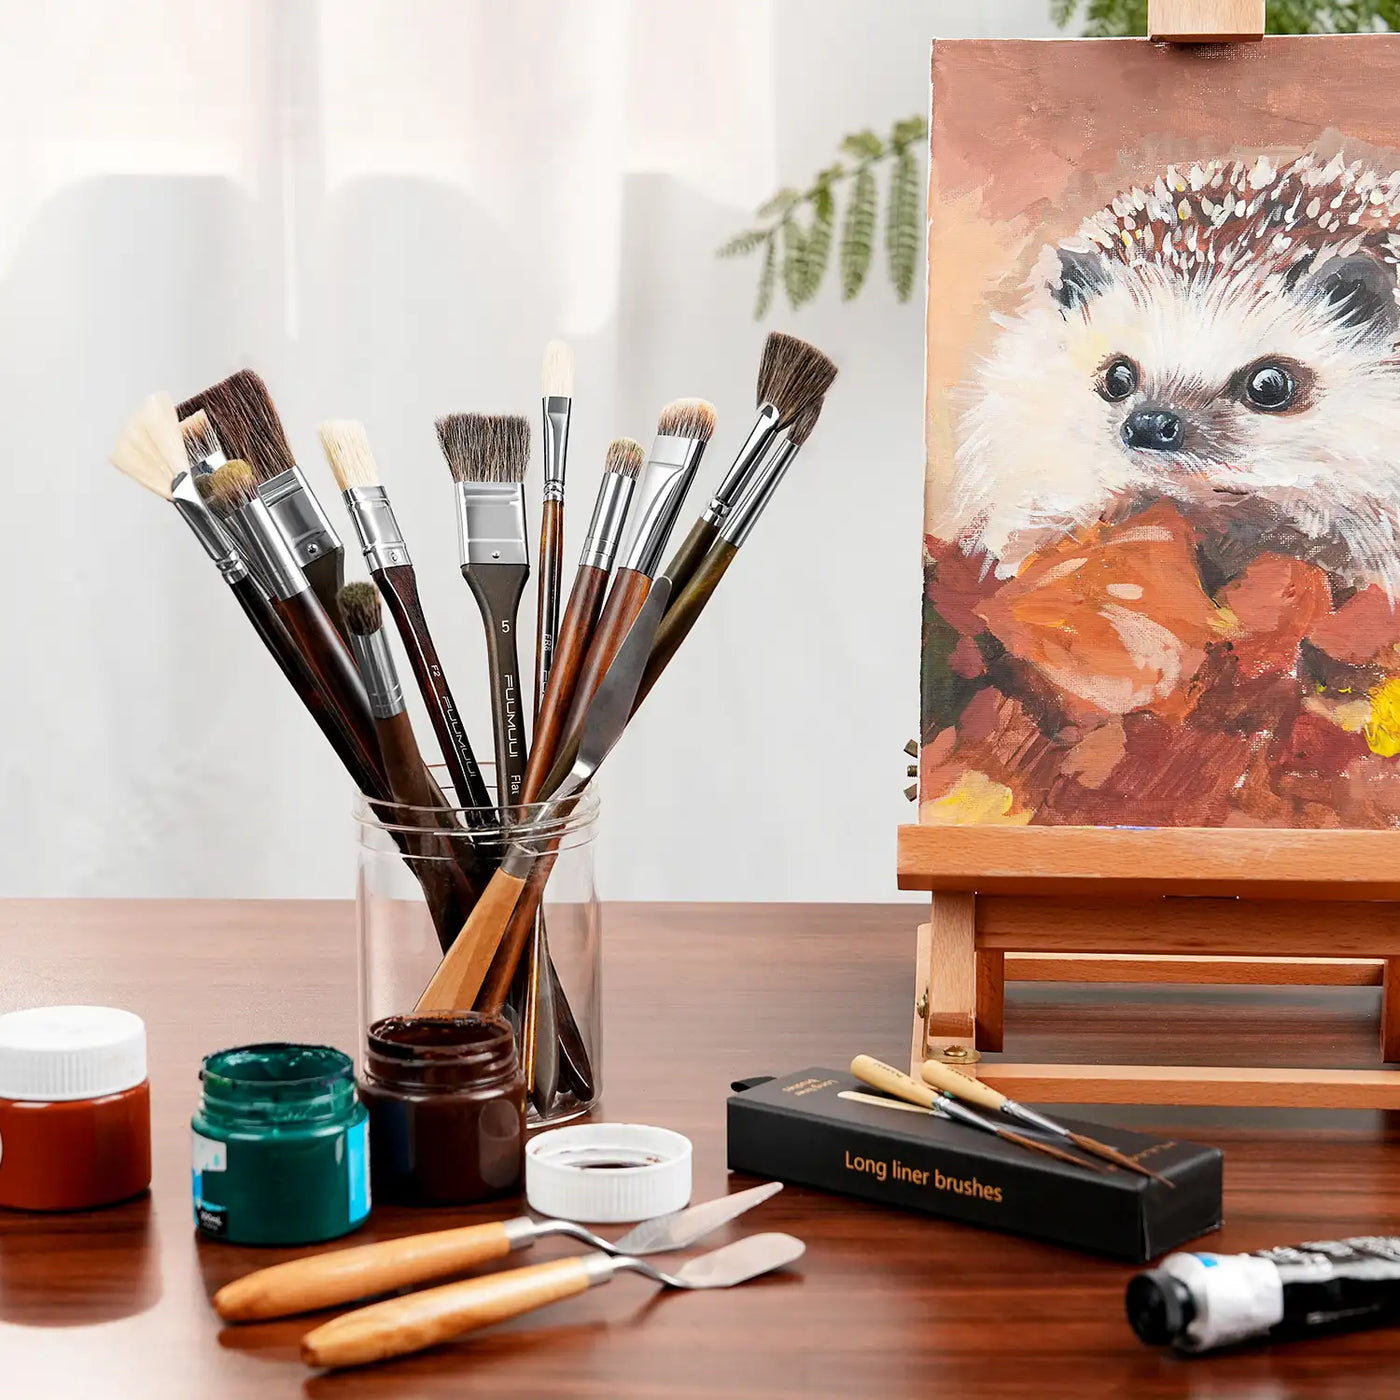
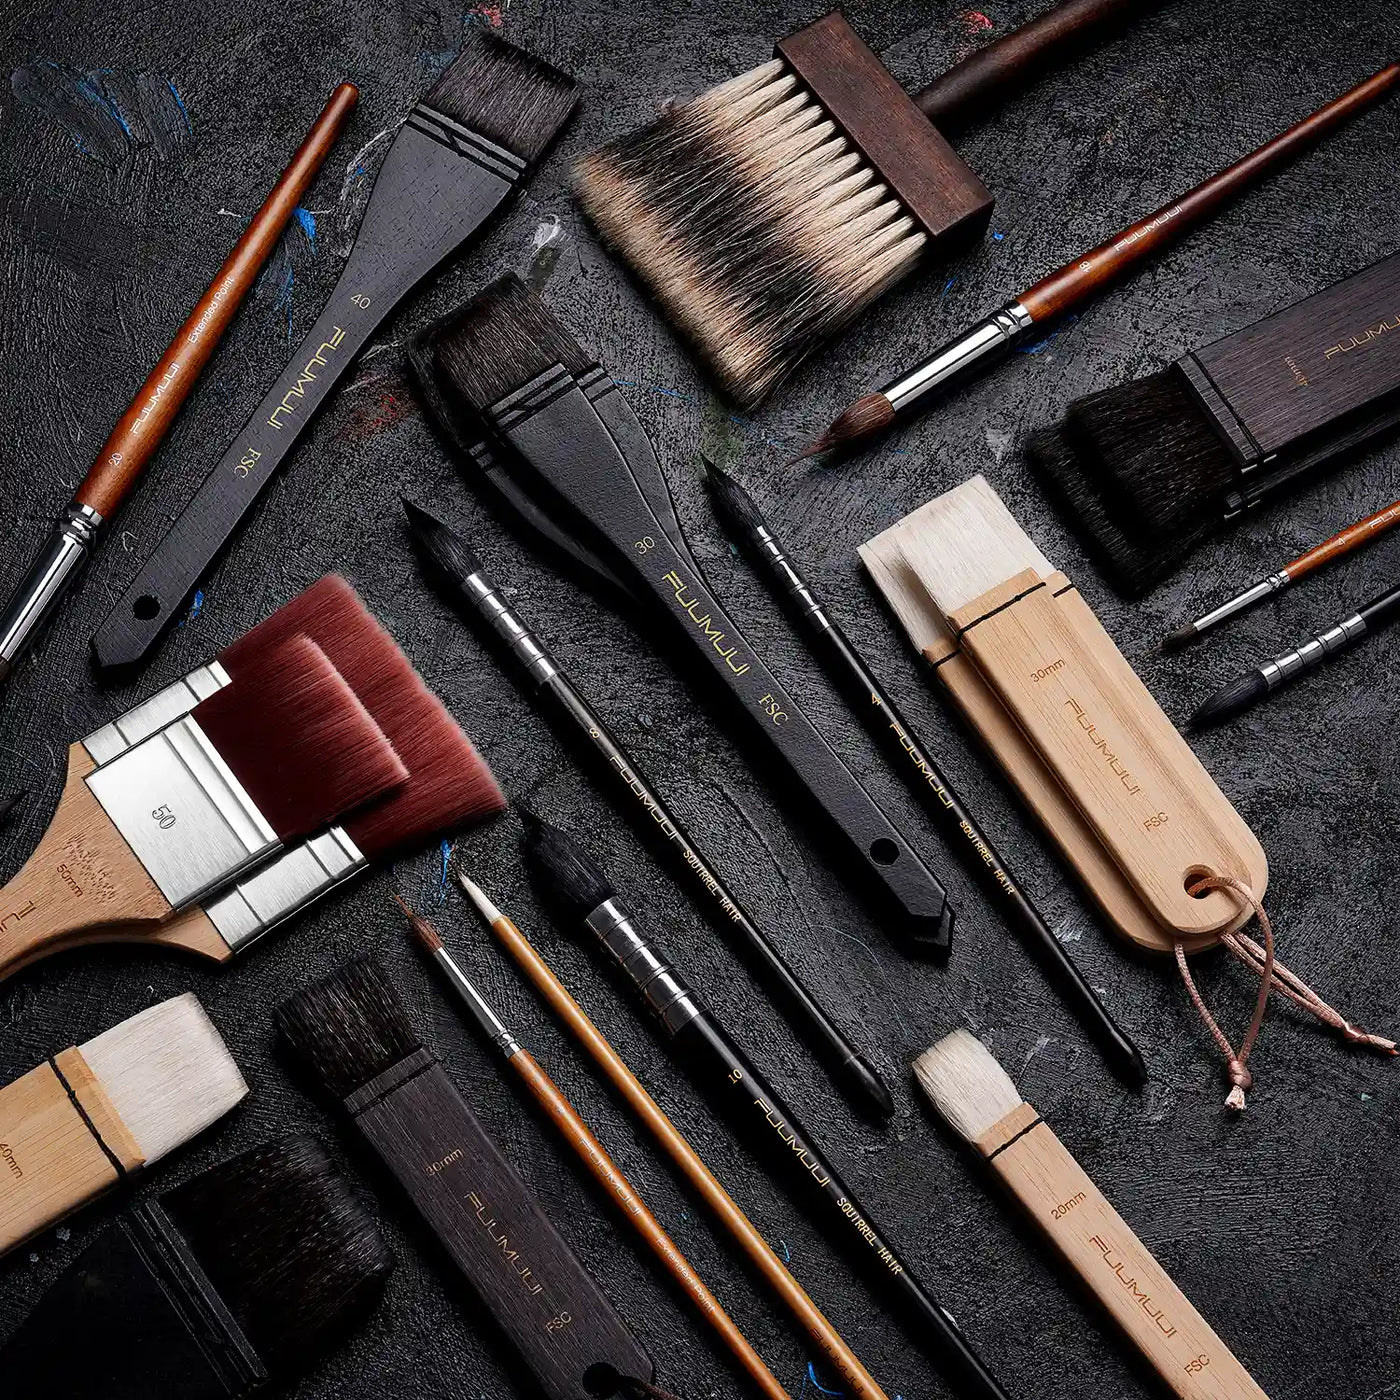
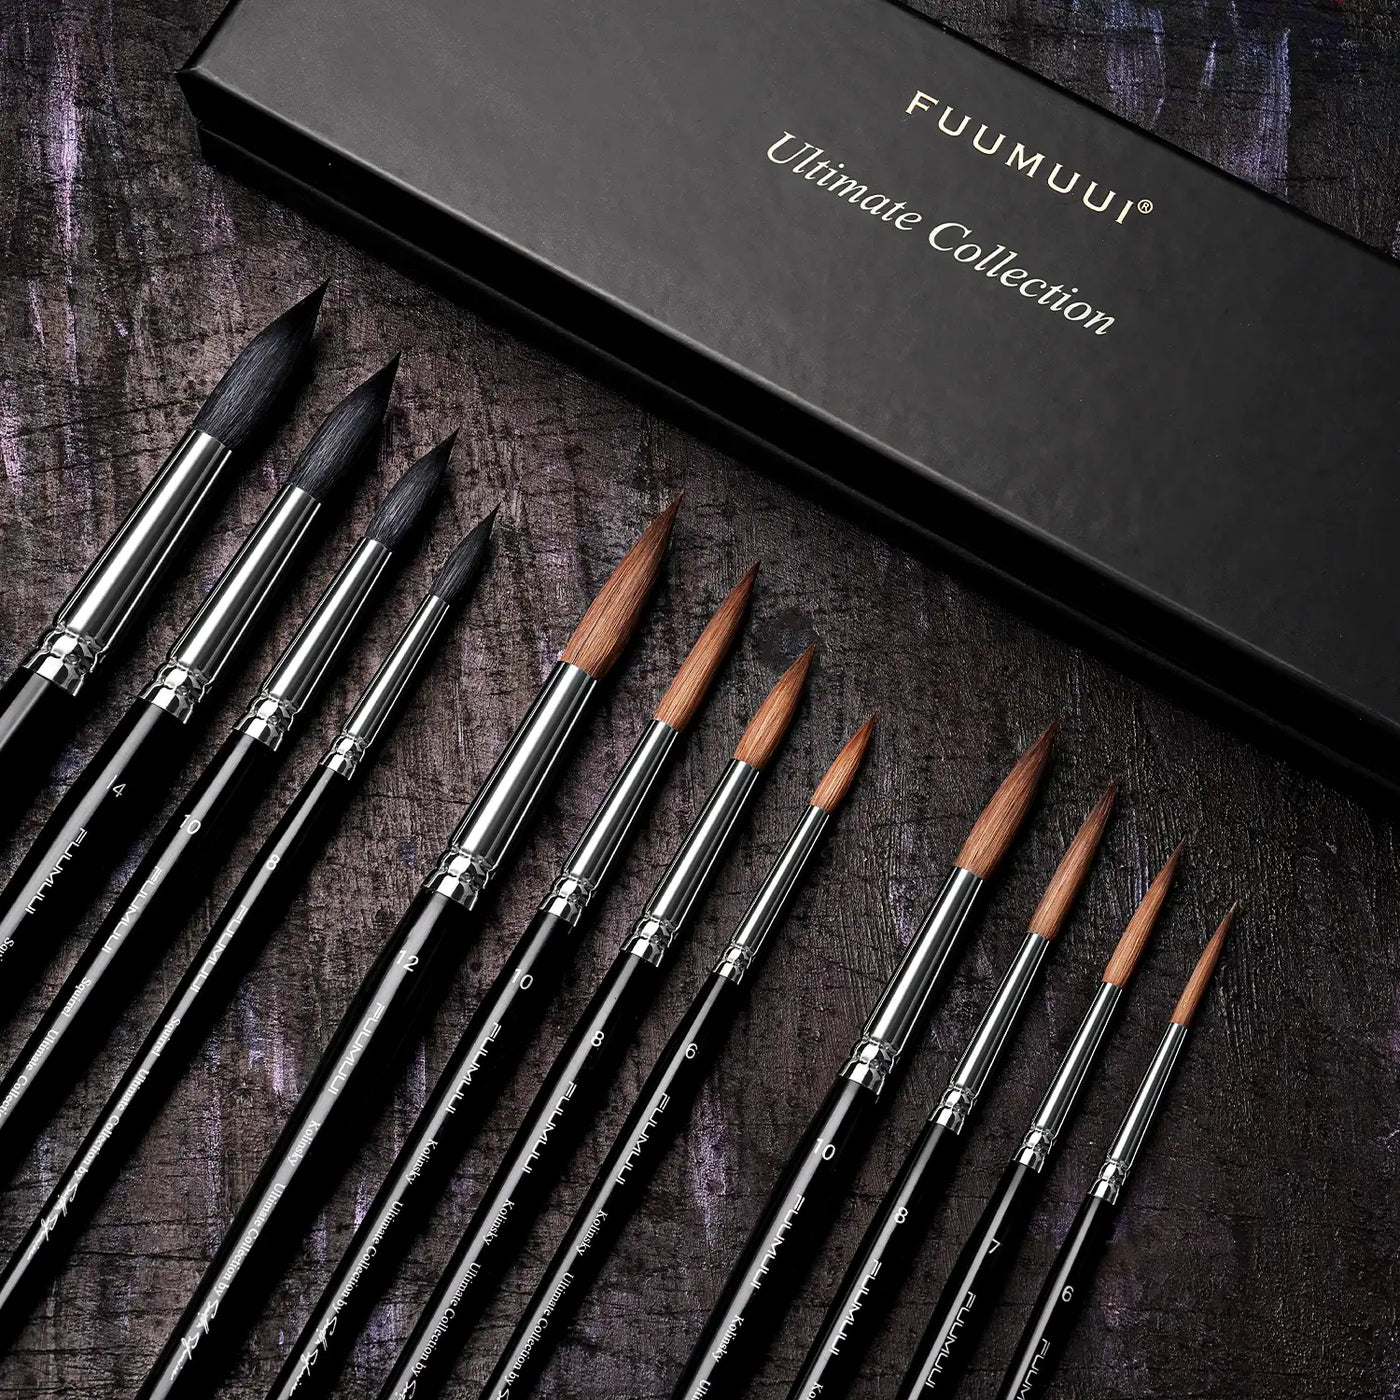
Brushes: A medium round brush for larger shapes and washes, plus a small detail brush for faces and fine lines.

¿Listo para crear? Descubre nuestros pinceles de acuarela de alta calidad y nuestro set profesional. Tanto si eres principiante como...
Essentials: A pencil, mixing palette, clean water, and paper towels.
Optional: Masking fluid to help preserve the ghost's white body.
Painting Your Halloween Scene Step by Step
Follow the steps below to paint your pumpkin ghost, from the witch hat and pumpkin to the glowing moonlit sky. You can also watch the step-by-step tutorial video for a closer look at each stage. Let’s get started!
✏️ Step 1: Sketch the Main Shapes

Lightly sketch a large pumpkin, a little ghost sitting inside its opening, and a pointed witch hat. Add a smaller pumpkin and a large moon in the background.
Keep your sketch simple, with clear outlines that are easy to paint around. If you'd like to preserve the ghost's white body, apply a little masking fluid to the areas you want to keep white and let it dry completely.
🧙 Step 2: Paint the Witch Hat
Let's start with the ghost's little witch hat!

Use Deep Purple, Payne's Gray, or Black to paint the pointed crown and curved brim. Follow the outline carefully, keeping the shape slightly playful rather than perfectly symmetrical.
Leave a small area lighter to suggest a highlight, then paint a Medium Yellow or Orange Ribbon around the brim. This warm accent stands out beautifully against the dark hat.
Let the paint dry before moving on to keep the hat's edges crisp.
🎃 Step 3: Paint the Pumpkin
Now it's time for the star of our Halloween watercolor painting!

Use a medium round brush to apply Medium Yellow and Orange to the pumpkin's sections. While the paint is still damp, add Deep Orange or Red along the sides and between the ribs.
Let the colors blend softly. Keep the center of each section brighter and deepen the grooves to create a round, plump appearance.
Once the base layer is completely dry, use a small detail brush and Black paint to add triangular eyes, a little nose, and a playful zigzag smile. A few darker orange strokes along the ribs will give the pumpkin extra definition.
Let the pumpkin dry before painting the ghost to prevent orange paint from bleeding into its white body.
👻 Step 4: Paint the Cute Little Ghost
Here comes our tiny Halloween visitor!

Leave most of the ghost's body the natural white of the paper. Mix a little Light Purple with plenty of water, then gently add soft shadows around the folds and lower edges.
Use your small detail brush and Black paint to draw two little eyes and a simple mouth. A touch of diluted Pink on the cheeks will give your ghost a sweet, friendly expression.
If the ghost is sitting inside the pumpkin, add a slightly deeper Purple shadow beneath its body to make it look comfortably nestled in the opening.
Allow the ghost to dry completely before painting the background. This helps keep its white silhouette and tiny facial features clean.
🌕 Step 5: Create a Glowing Moon and Purple Night Sky
The main characters are ready! Now let's give them a magical Halloween night to live in. ✨
Paint the Golden Moonlight

Use a clean brush to wet the background area around the moon, taking care to avoid the painted foreground.
While the paper is still damp, add Lemon Yellow near the moon.
Gradually blend in Medium Yellow and Orange, adding a little Deep Orange toward the outer edge. Let the colors spread naturally to create a soft, warm glow.
Avoid repeatedly brushing the same area, as this can disturb the paper and make the colors muddy.
Paint the Purple Night Sky

Make sure the witch hat, pumpkin, and ghost are completely dry before starting the background.
Use deep purple or blue-violet to fill the surrounding sky. Work slowly around the silhouettes, switching to your small detail brush near the edges of the ghost and pumpkin.
Let the purple blend gently into the yellow-orange moonlight. You can deepen the sky around the pumpkin and along the outer edges to create contrast, while keeping the ghost's outline bright and clear.
The combination of warm moonlight and a cool purple sky gives this Halloween watercolor scene its dreamy, mysterious atmosphere.
🦇 Step 6: Add Bats, Stars, and Mini Pumpkins

Once the background is completely dry, it's time for the finishing touches!
- Mini pumpkins: Use Orange and Deep Orange to paint smaller pumpkins. Add darker strokes between their sections to suggest shape and shadow.
- Twisted branches: With a small brush and concentrated Black paint, draw a few crooked, leafless branches along the edges of the sky. Vary the thickness of your strokes for a natural, whimsical look.
- Bats and stars: Paint a few tiny bats around the glowing moon and scatter small stars across the purple sky.
Finally, check the pumpkin's grooves, the witch hat's ribbon, and the ghost's expression. A few bright yellow dots or stars will bring the whole painting together without making it feel too busy.
💡 Watercolor Tips for a Better Halloween Painting

A few simple techniques can make this Halloween watercolor tutorial easier to follow, especially if you're new to watercolor.
- Work in layers: Paint the hat, pumpkin, and ghost before moving on to the background.
- Let each layer dry: This helps prevent unwanted color bleeding and keeps the shapes clean.
- Keep the ghost bright: Preserve the paper's natural white and use a light purple wash for shadows.
- Blend the moonlight gently: The wet-on-wet technique creates soft color transitions. Avoid overworking the paper.
- Save details for last: Paint faces, branches, bats, and stars on dry paper for sharper lines.
Remember, watercolor doesn't have to be perfect. Small variations in color and shape can make your Halloween artwork even more charming!
Bring Your Halloween Watercolor Painting to Life
A tiny ghost, a smiling pumpkin, and a glowing moon are all you need to create a charming Halloween watercolor painting. By painting the main characters first and adding the background afterward, you can build the scene one layer at a time.
Want to make your pumpkin ghost painting your own? Add a candy bucket, a few more bats, or extra twinkling stars. You could even change the ghost's expression or experiment with different shades of purple and orange.
Pick up your brushes, have fun with the colors, and create your own little Halloween world!
🎃 Happy Halloween, and happy painting! 👻


