






Table of Contents
Key Takeaways
Verdict: These Halloween watercolor card ideas combine cheerful pumpkins, spooky haunted houses, cute ghosts, and magical witch hats to create festive handmade cards with simple shapes and beginner-friendly techniques.
- 4 Easy Designs: Paint a spooky moonlit night, a haunted house, a happy pumpkin with little ghosts, or a candy-filled pumpkin witch hat.
- Simple Watercolor Techniques: Practice soft color blending, layering, and light-and-dark contrast to bring each Halloween scene to life.
- Beginner-Friendly Tips: Use a limited color palette, let each layer dry, and preserve light areas and highlights to add depth and dimension.
- Make It Your Own: Experiment with playful expressions, colorful candy, glowing windows, and spooky details to create unique DIY Halloween cards.
Boo! Ready for a little Halloween magic? 🎃 From glowing moons and crooked haunted houses to cheeky pumpkins and candy-loving ghosts, these Halloween watercolor card ideas are full of spooky fun!
With a few simple shapes and easy watercolor techniques, you can turn a blank piece of paper into a playful Halloween surprise. Grab your brushes, pick your favorite design, and let's get painting!
What You Need to Paint Halloween Watercolor Cards
Before we start, prepare a few basic supplies:
-
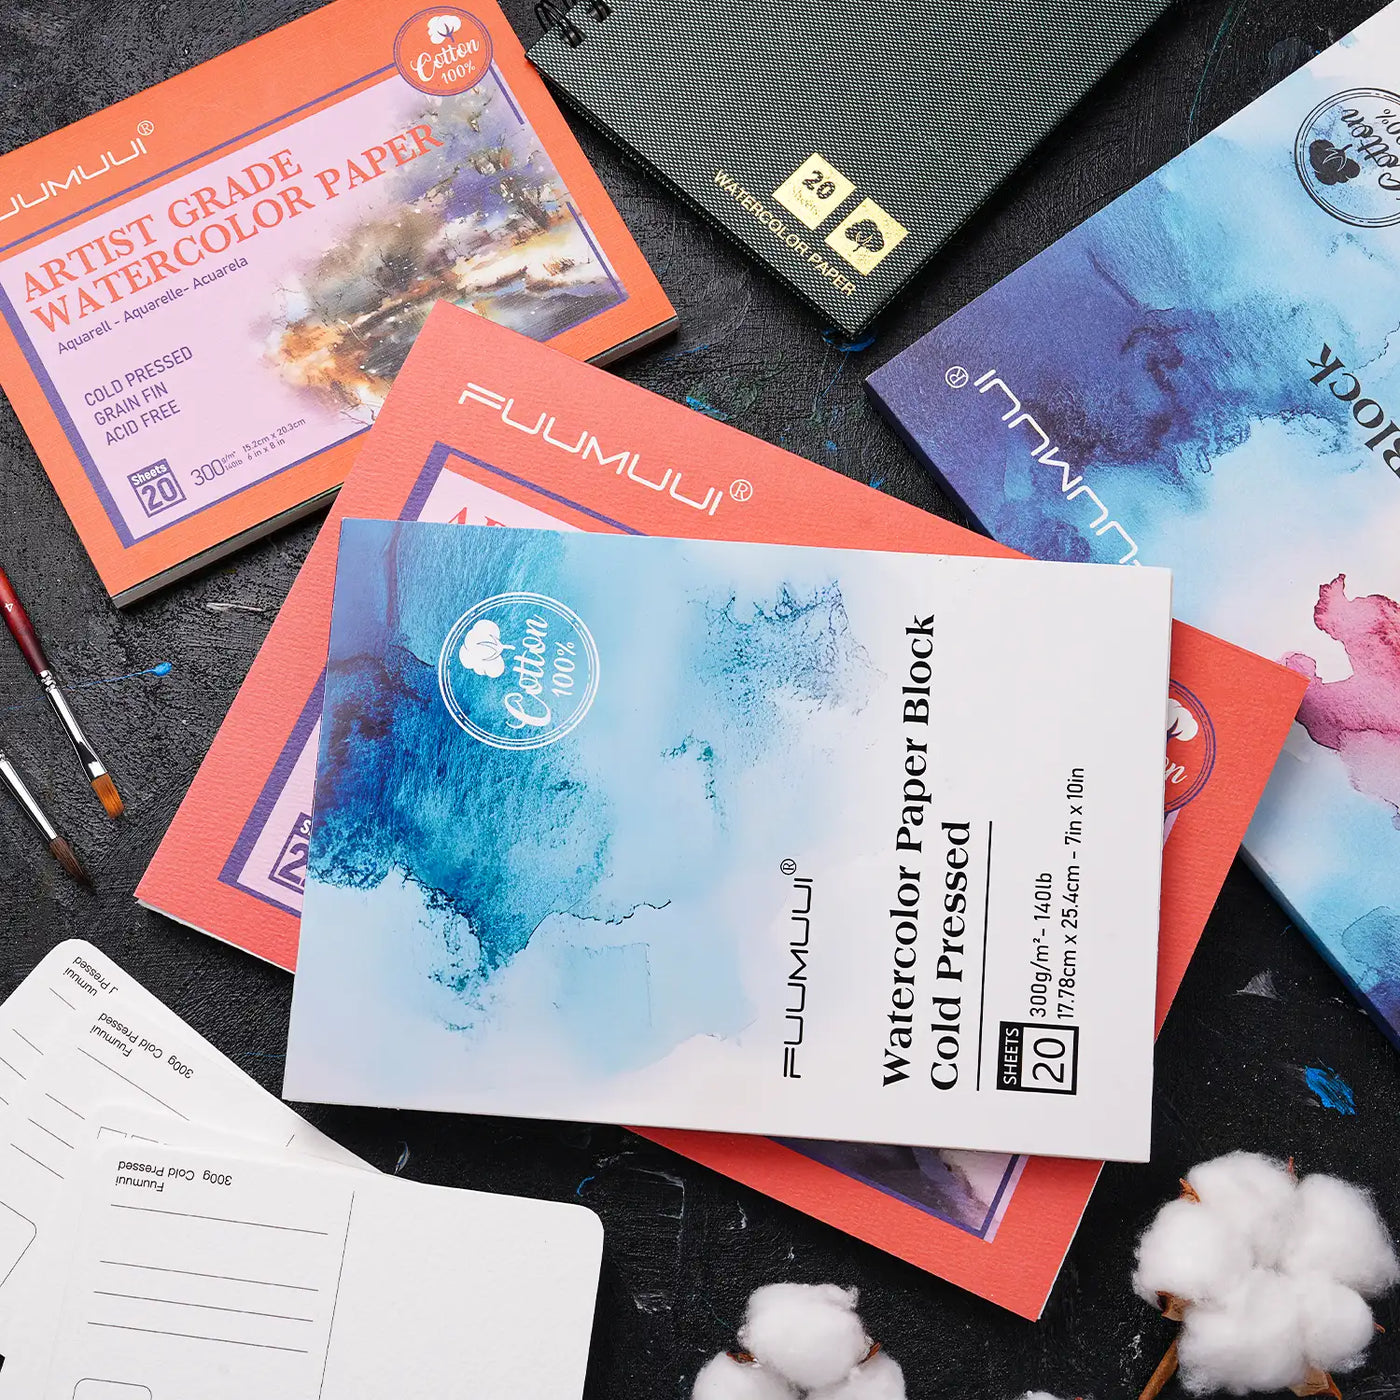
Paper: Choose watercolor paper with the right weight or blank watercolor postcards.
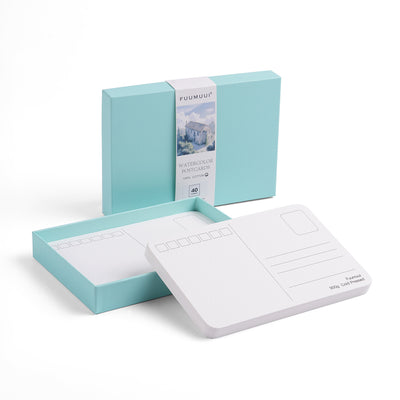
Fuumuui 수채화 엽서 (봉투 포함) | 100% 면 & 콜드 프레스
$49.00$38.99 -
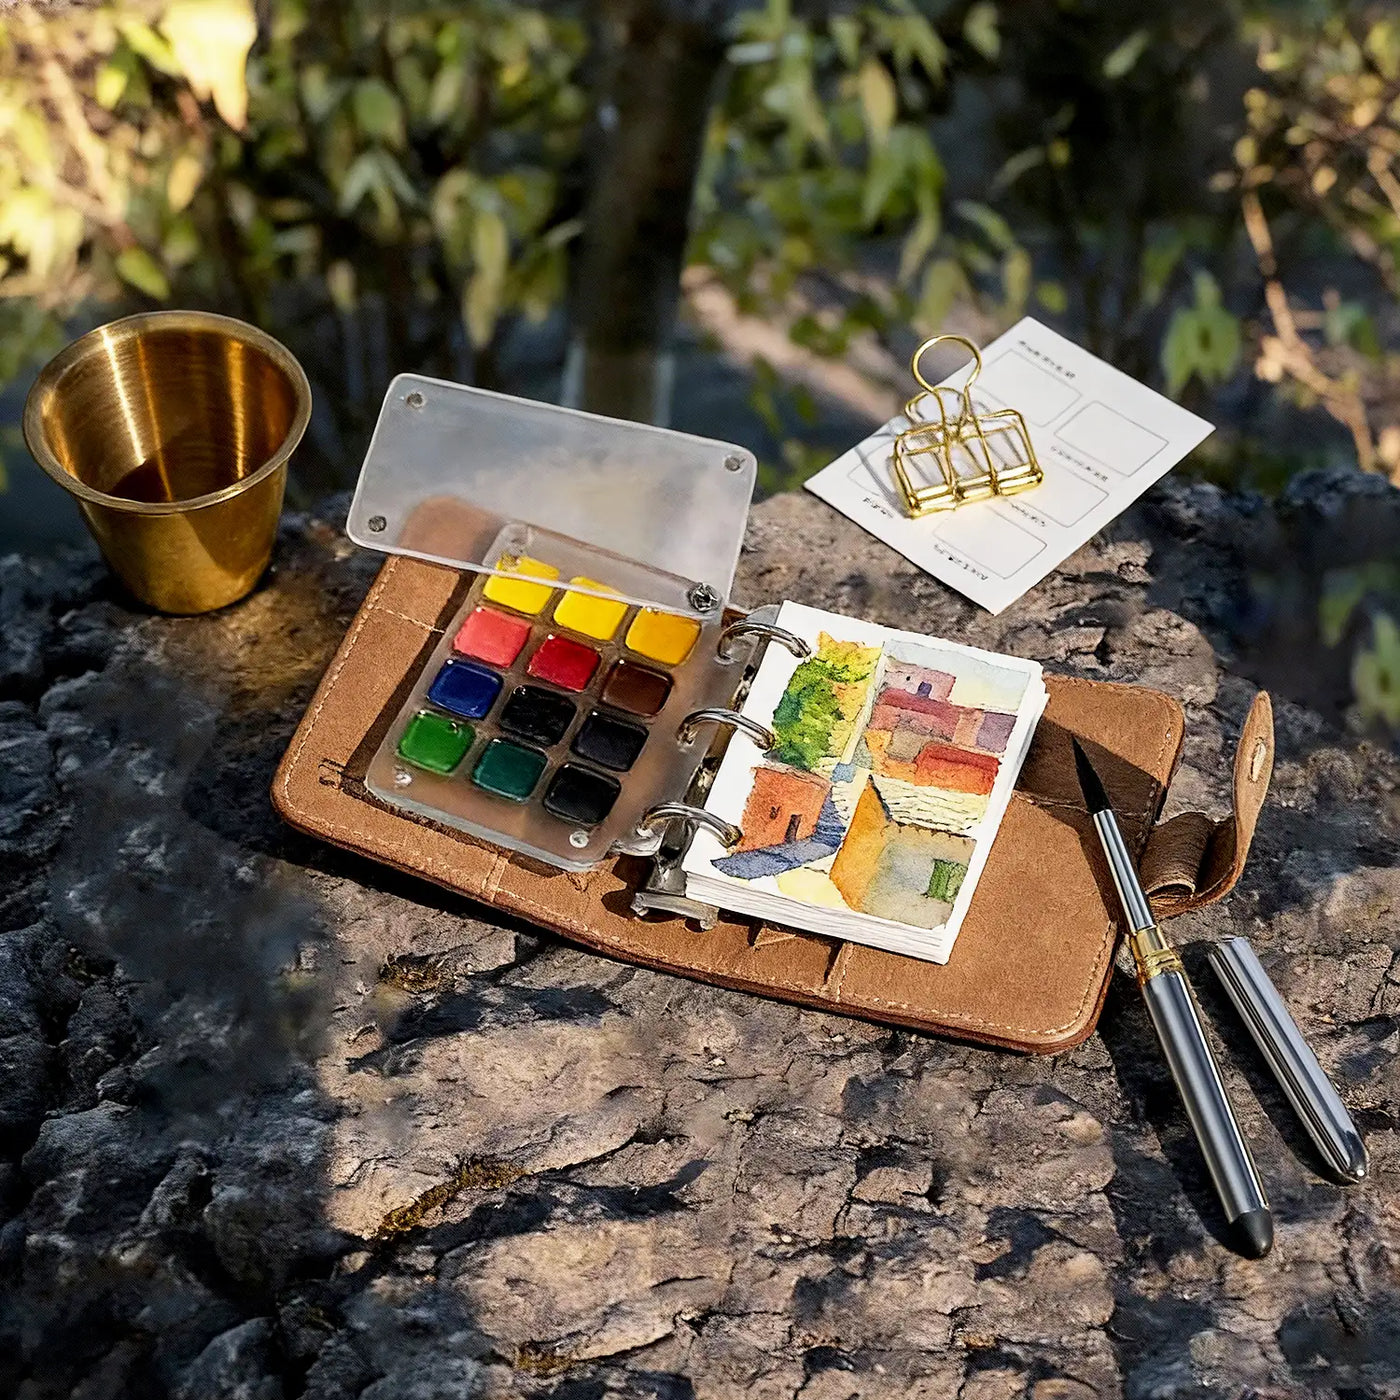
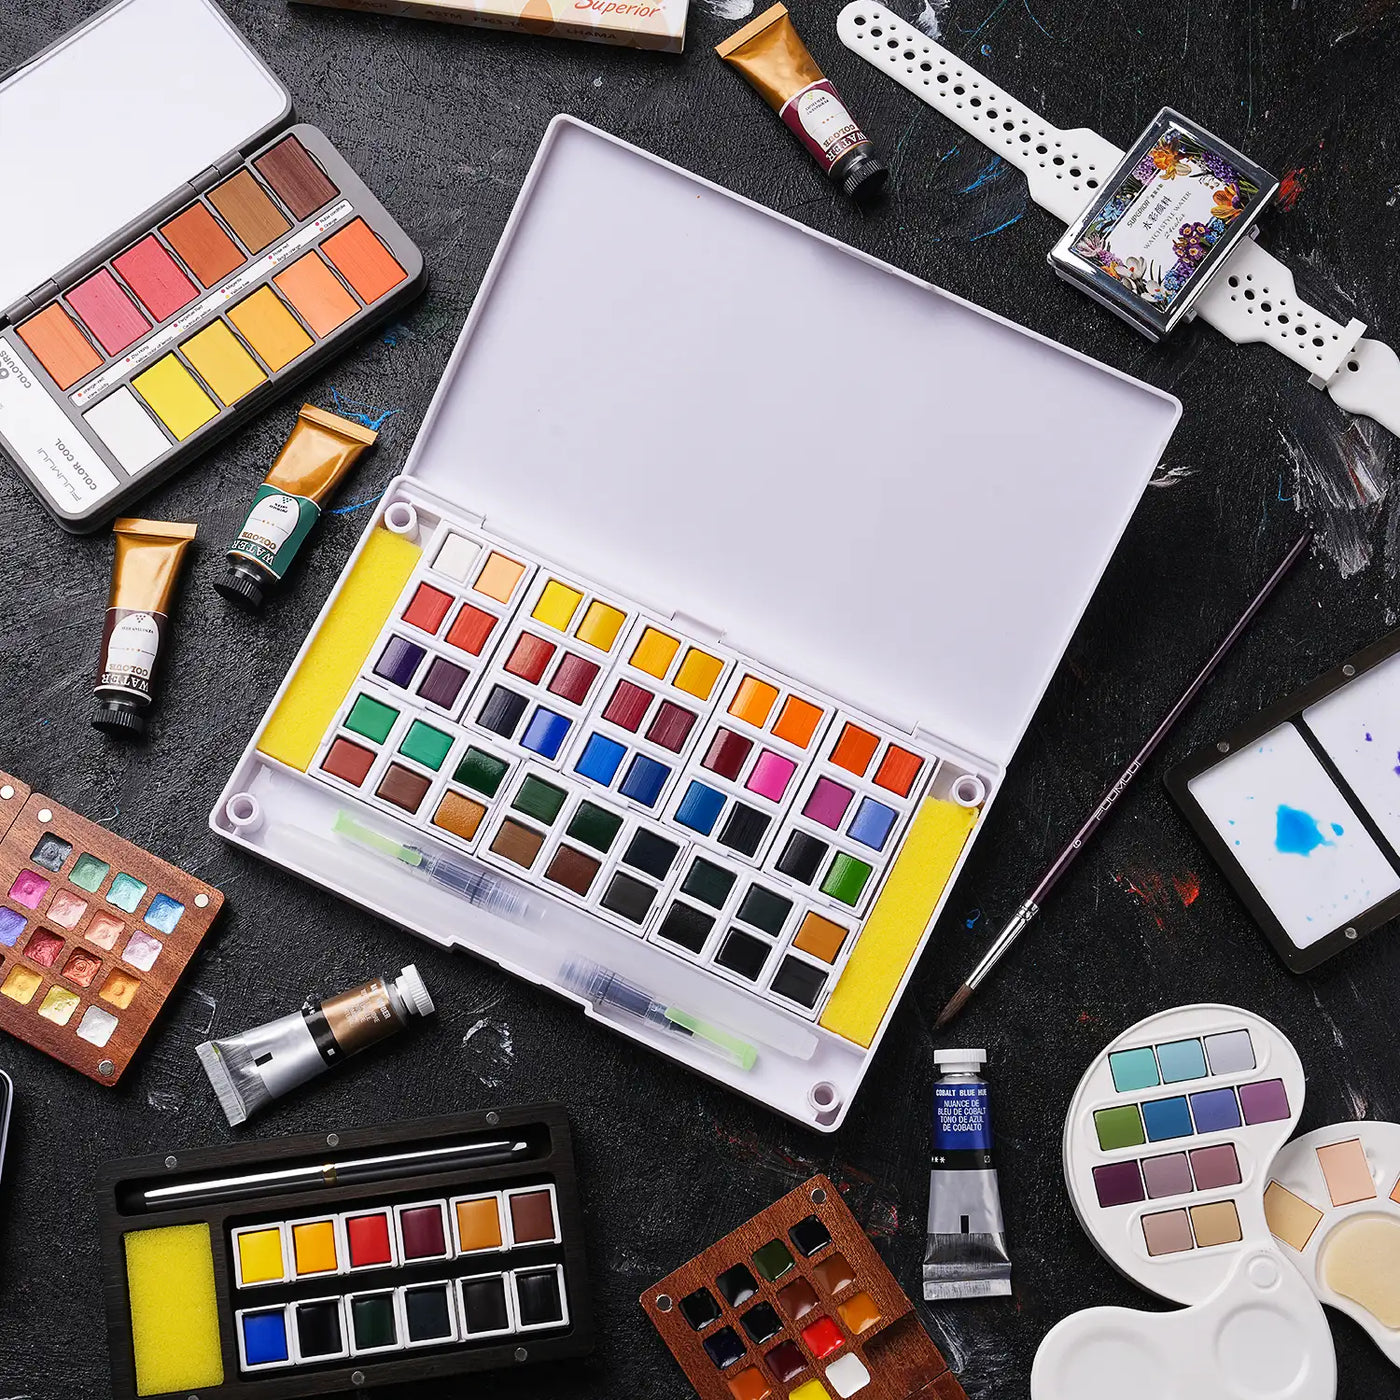
Paints: A basic watercolor set with yellow, orange, green, purple, and black.
-
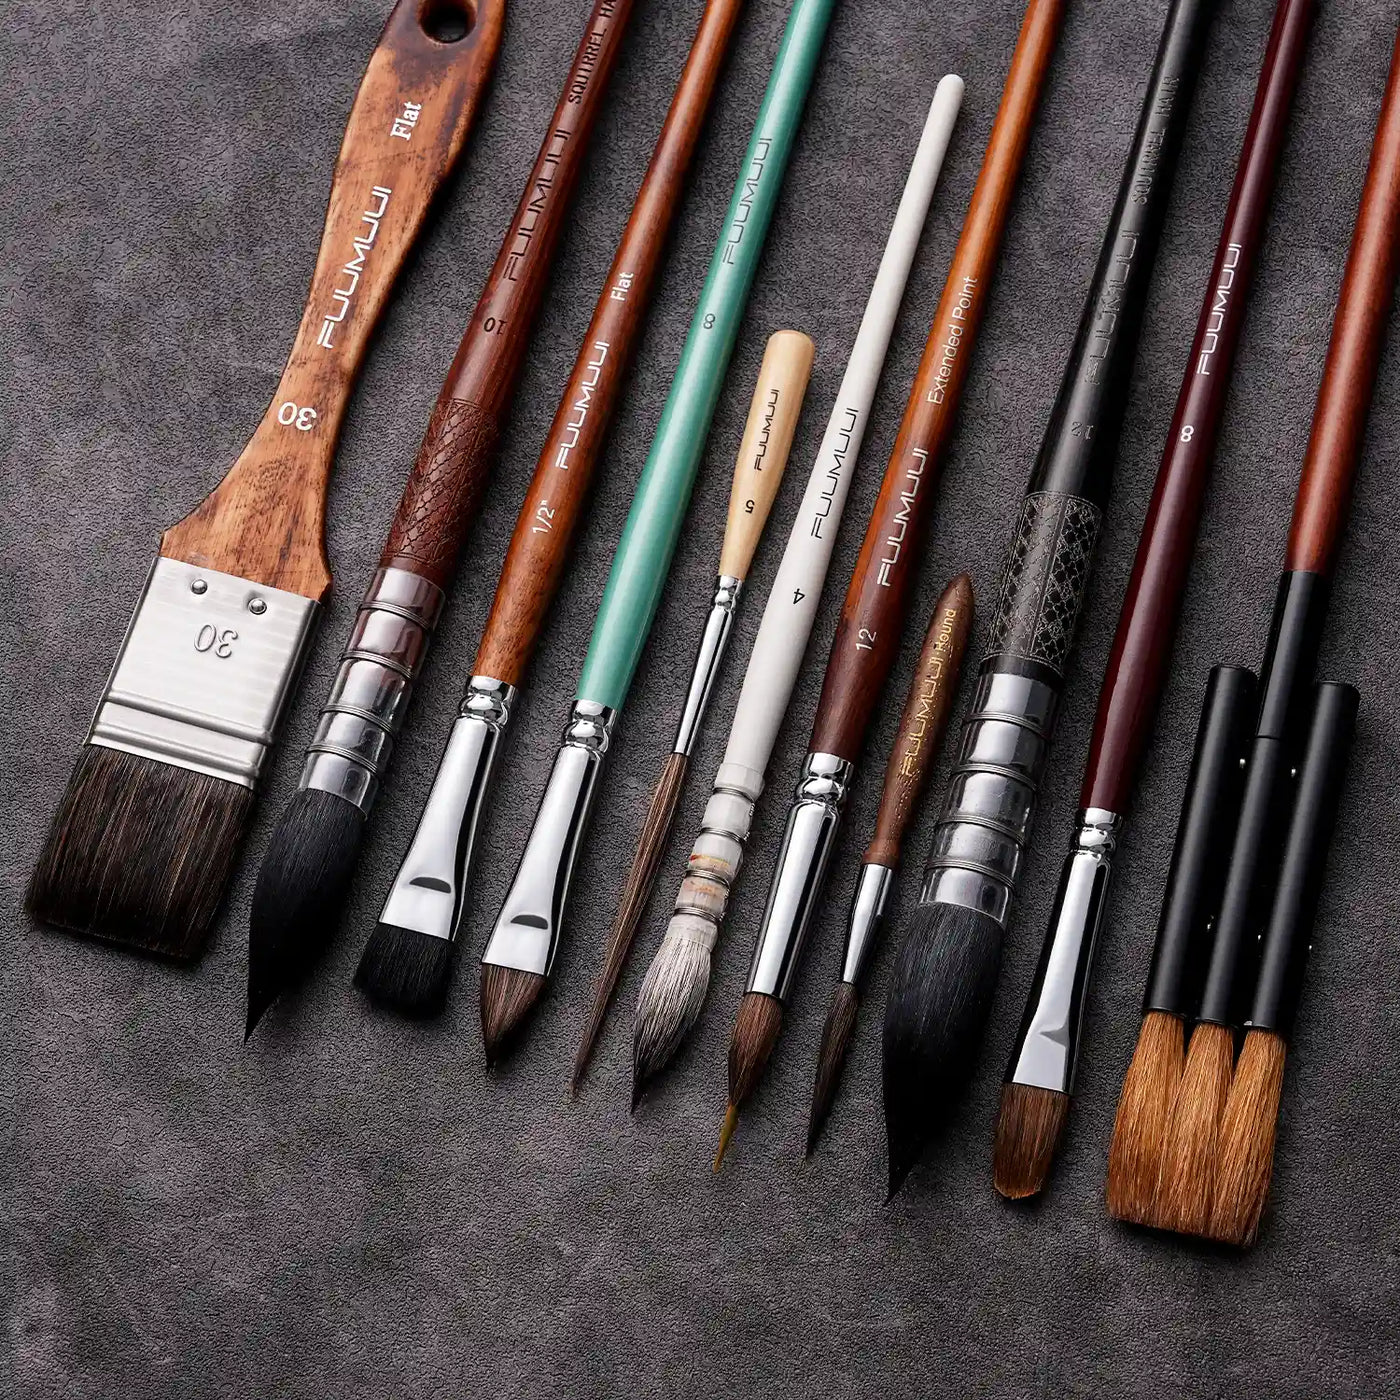
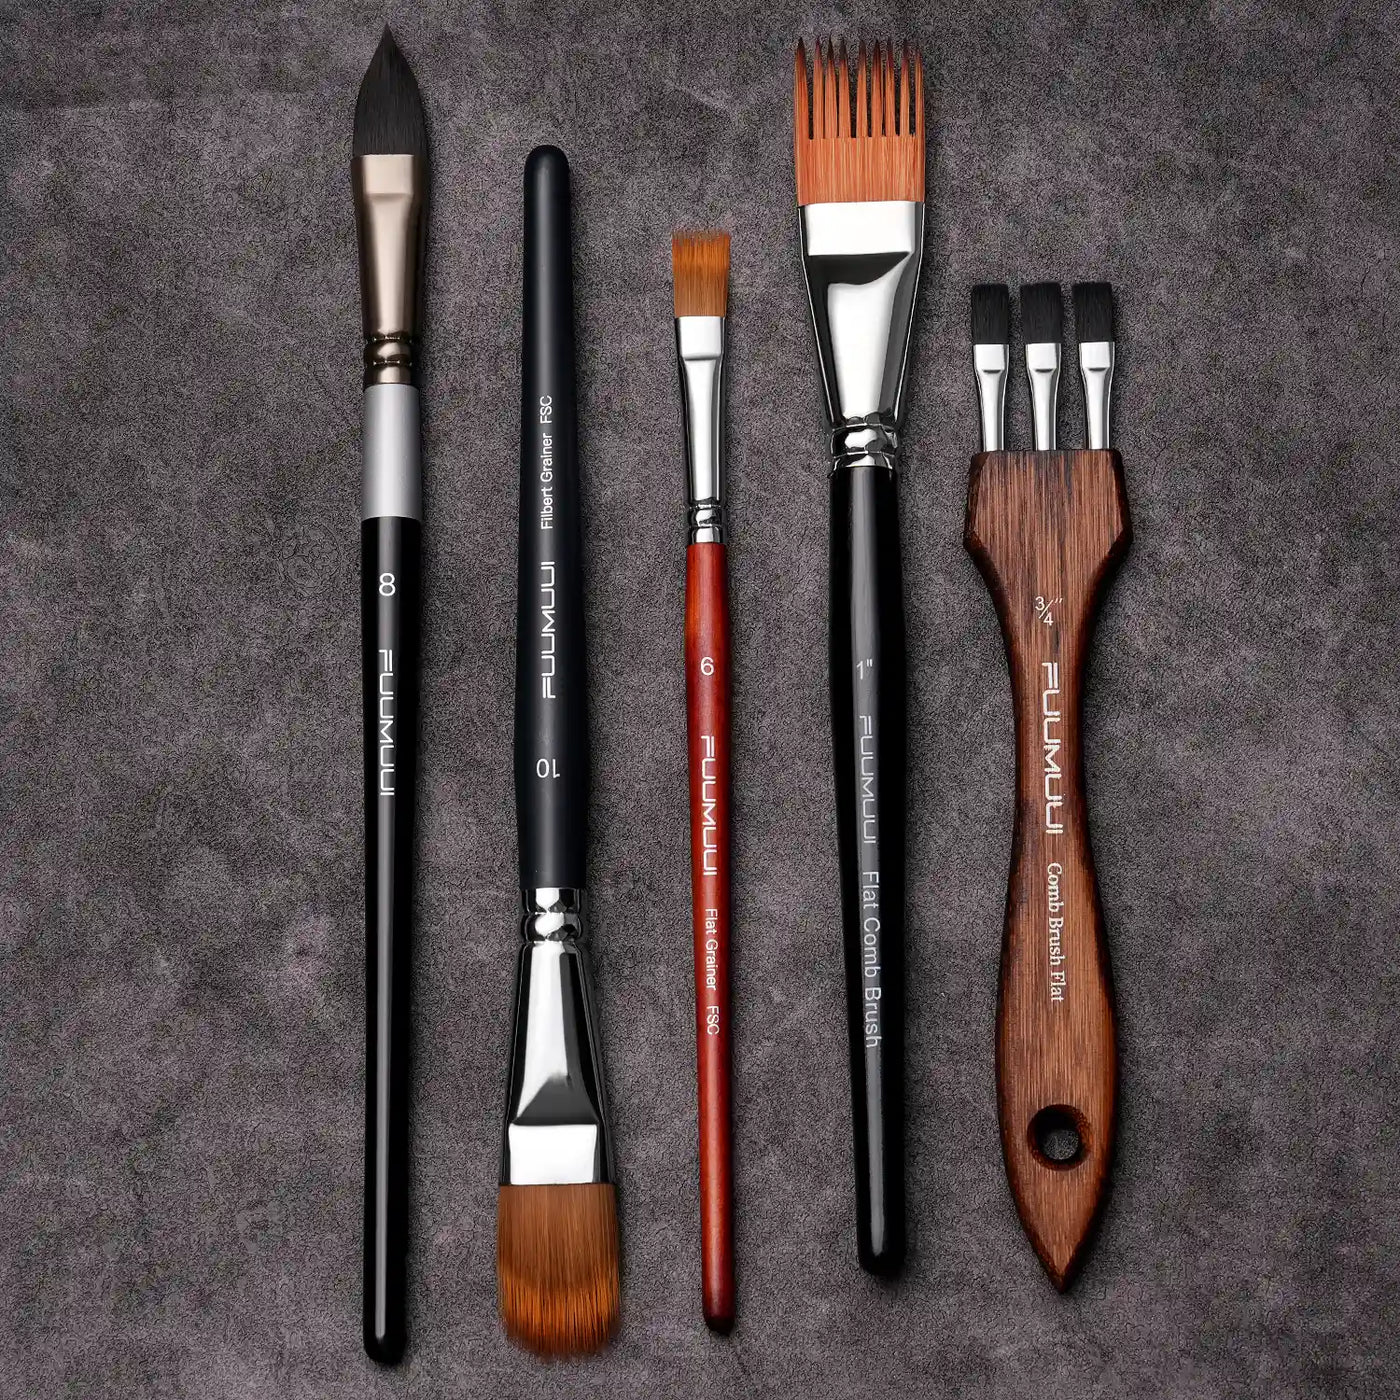
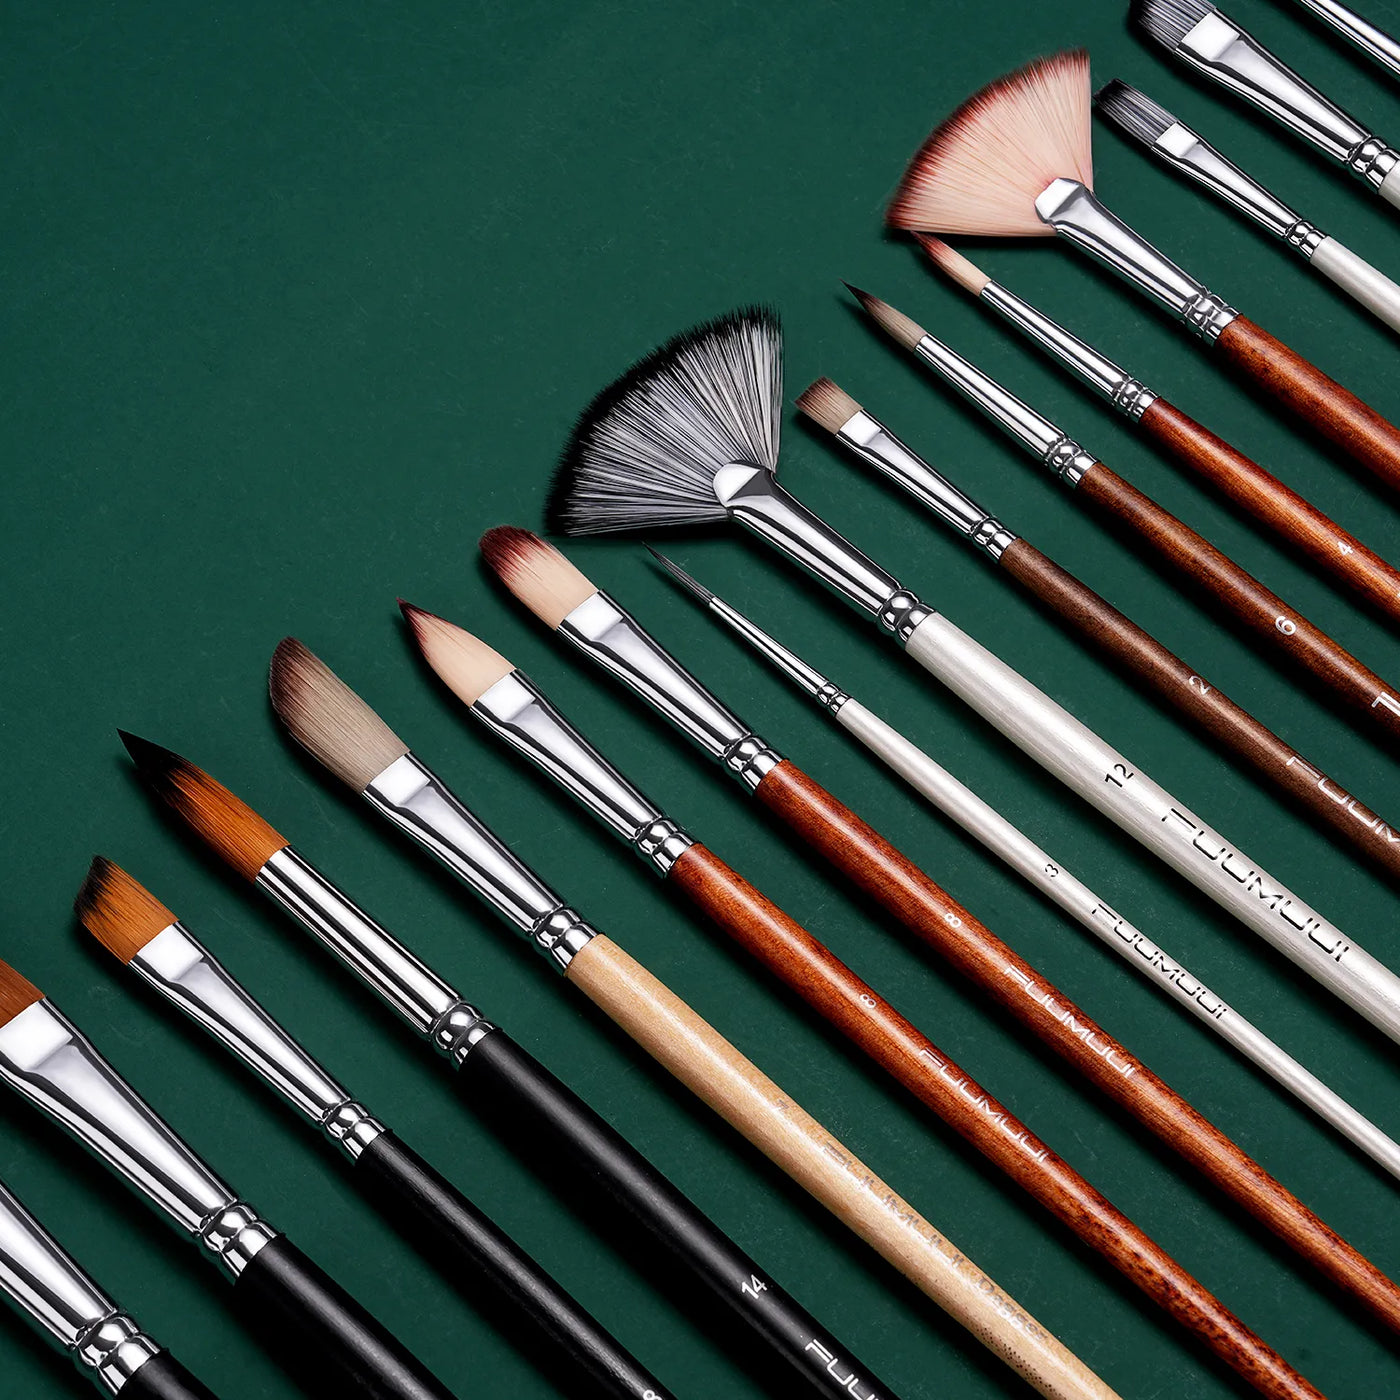
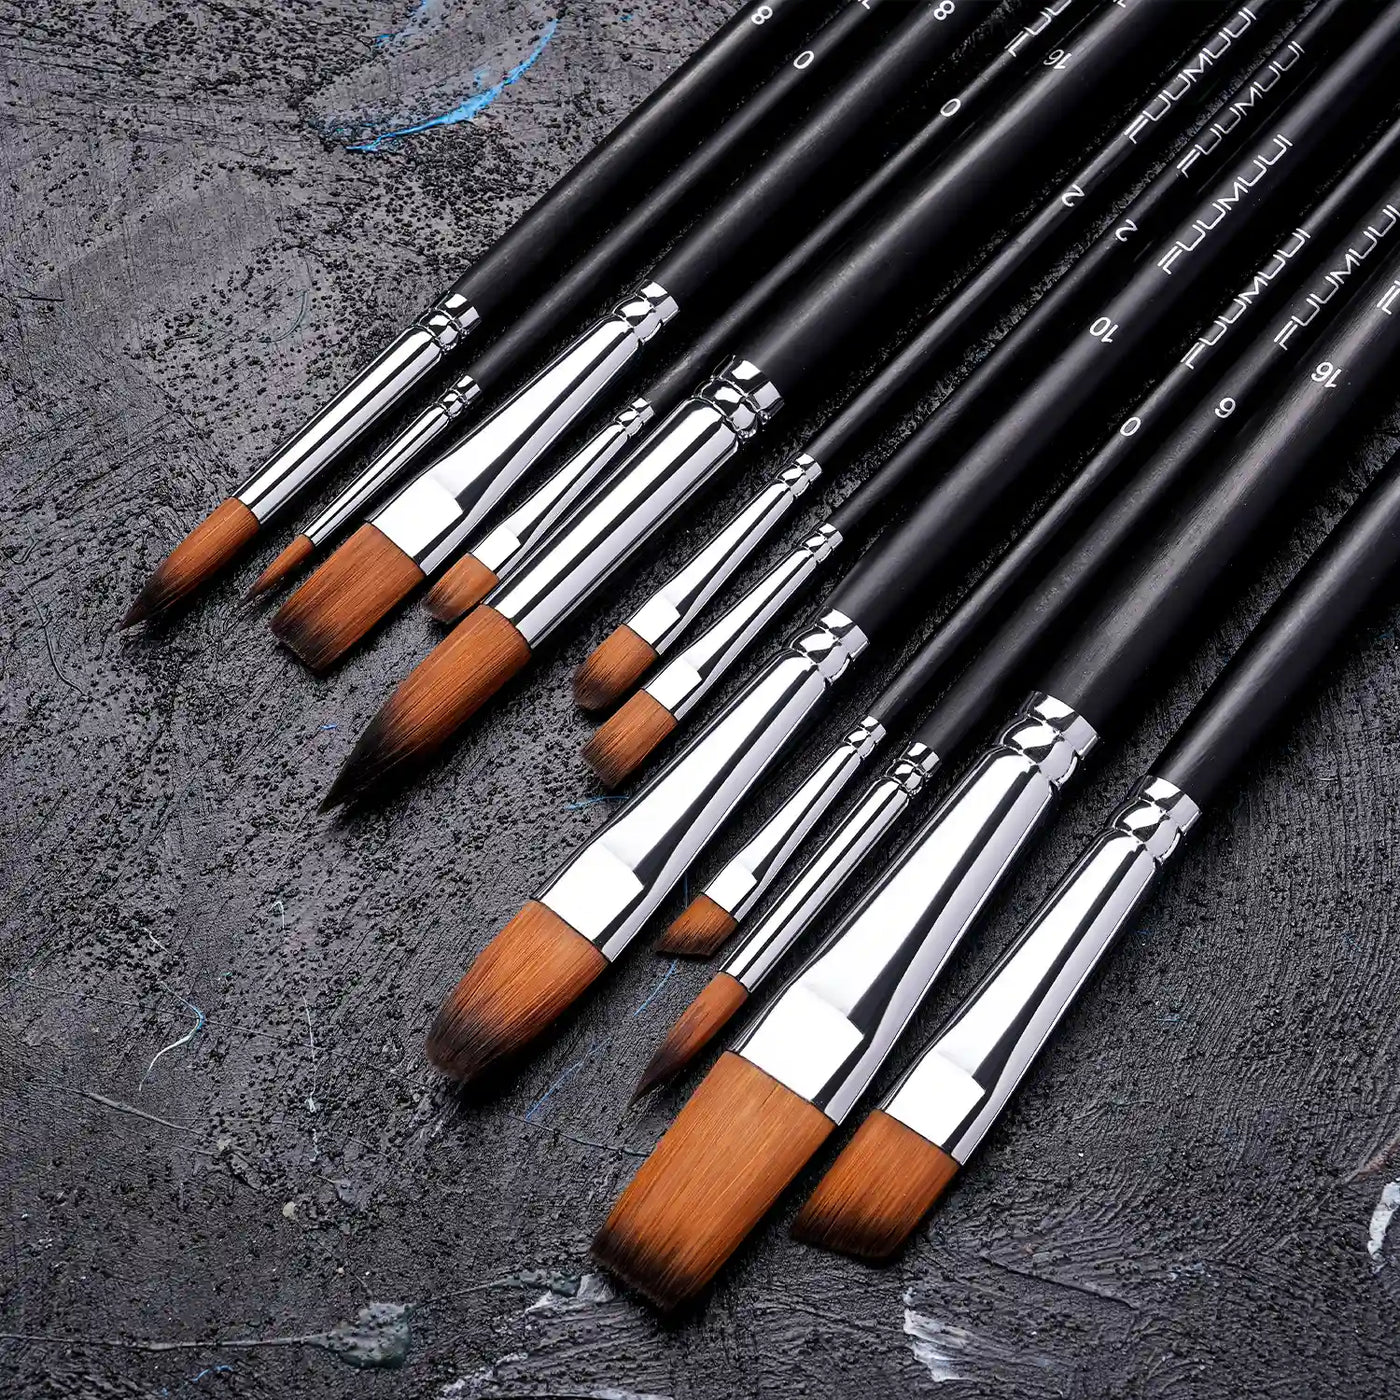
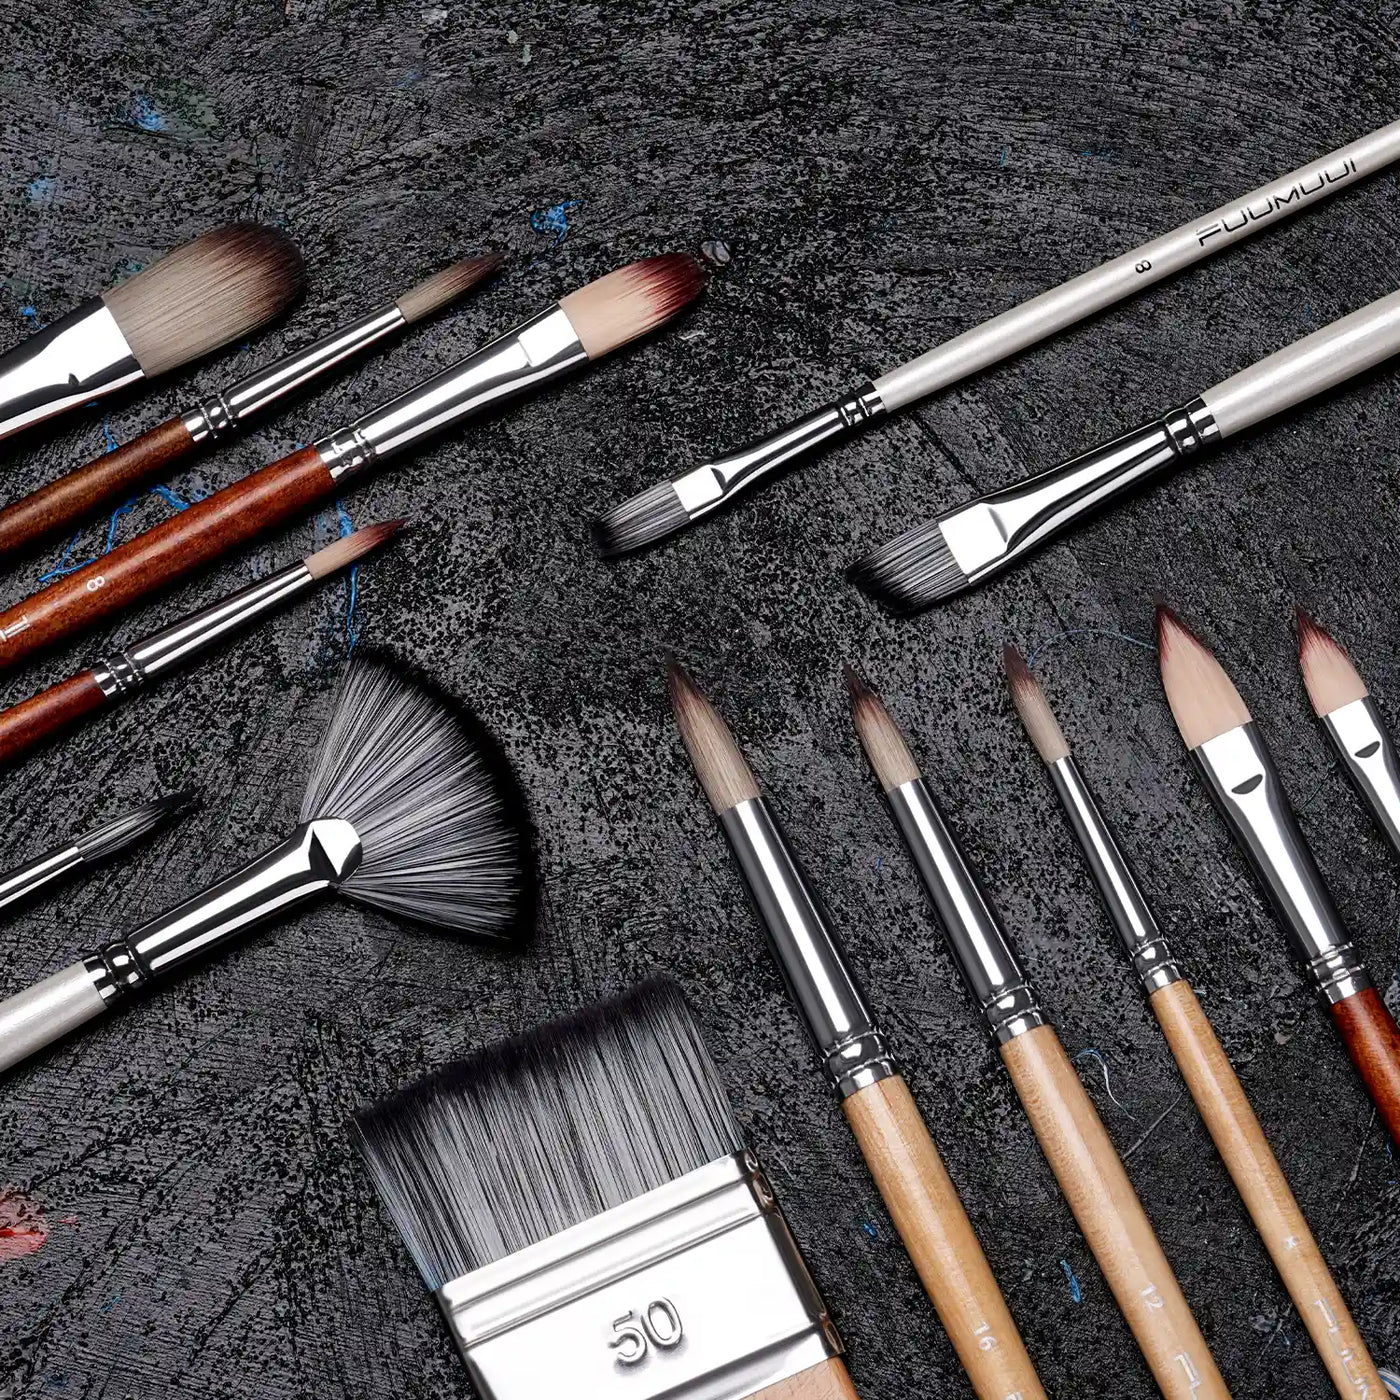
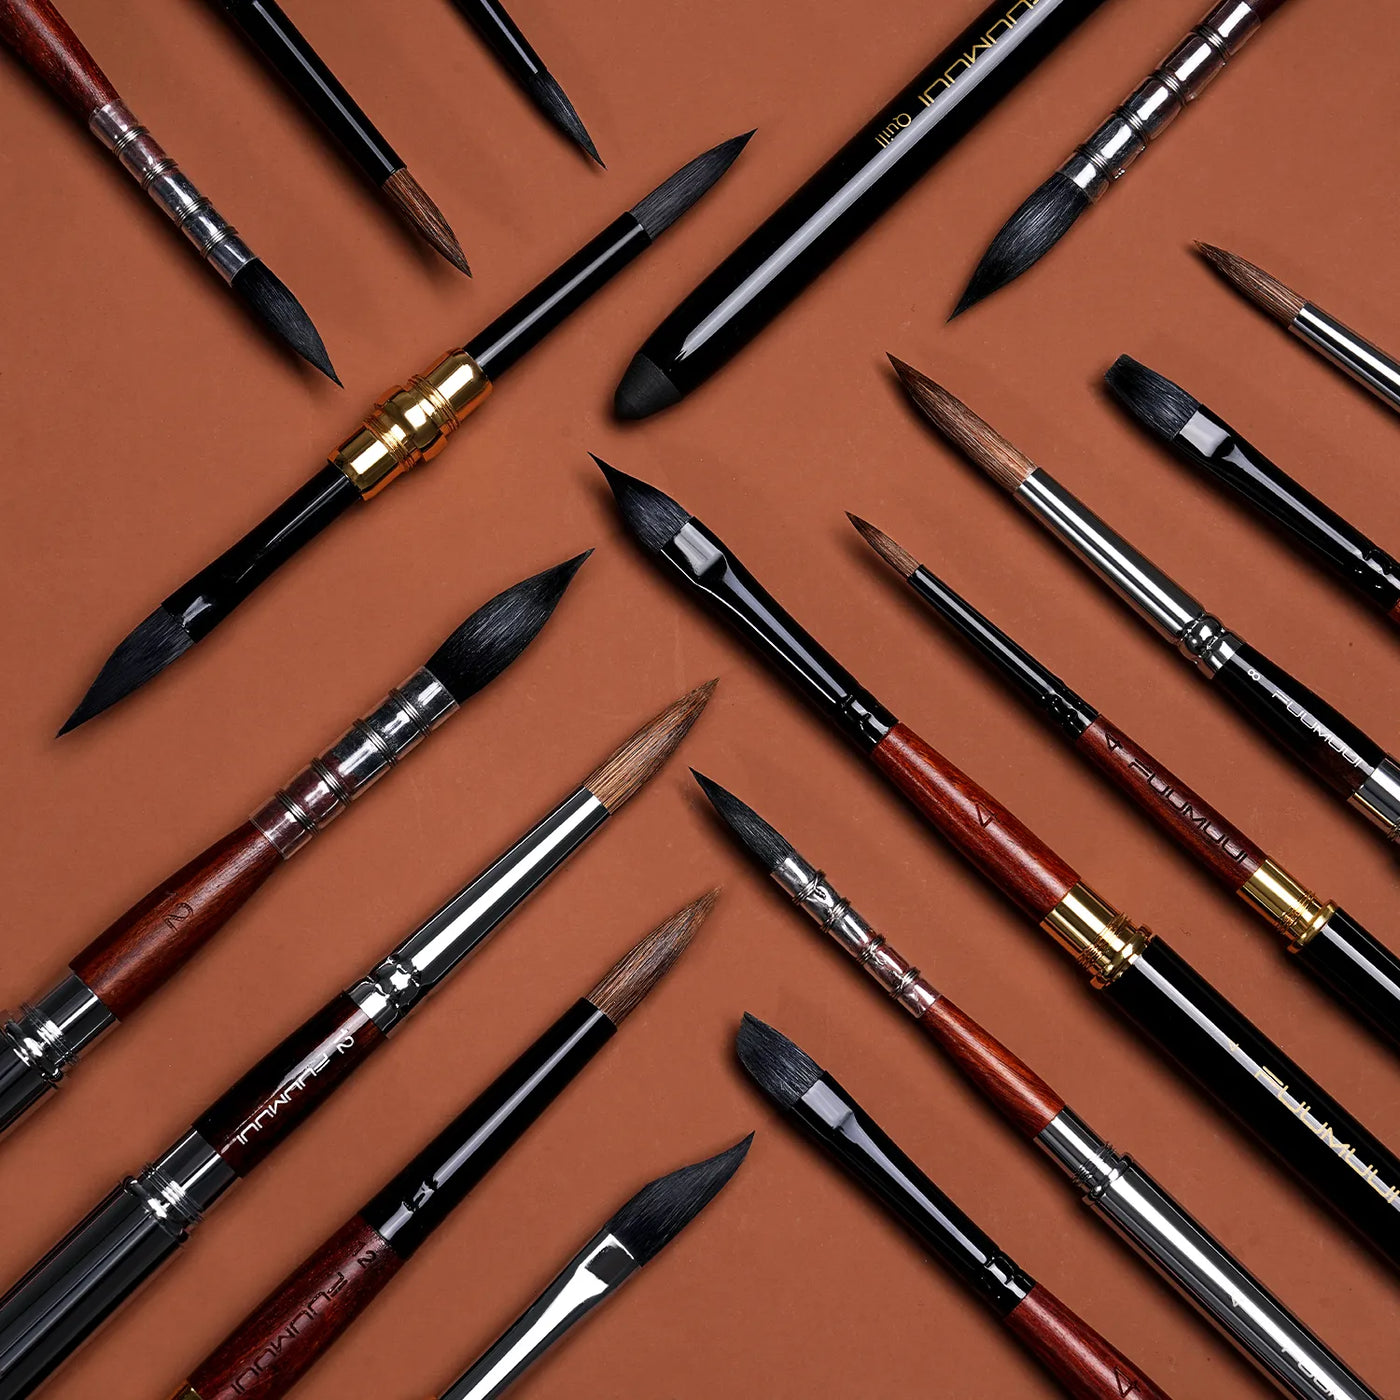
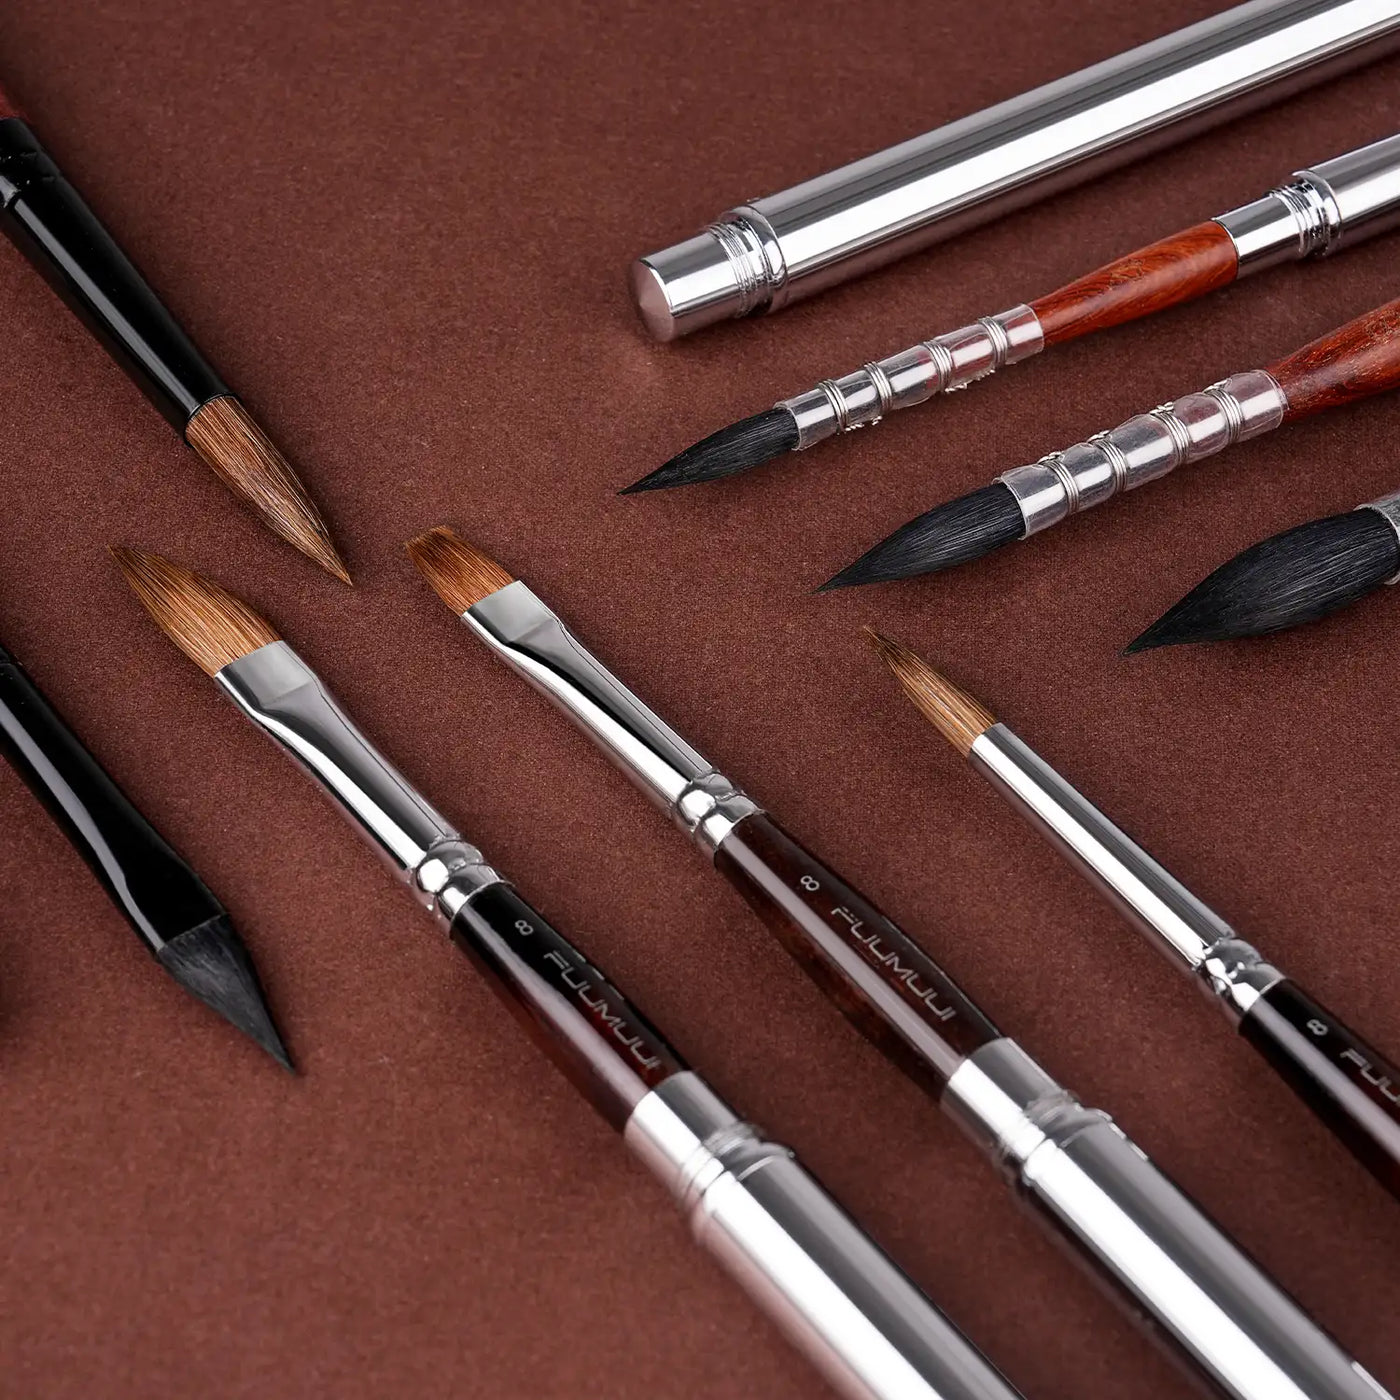
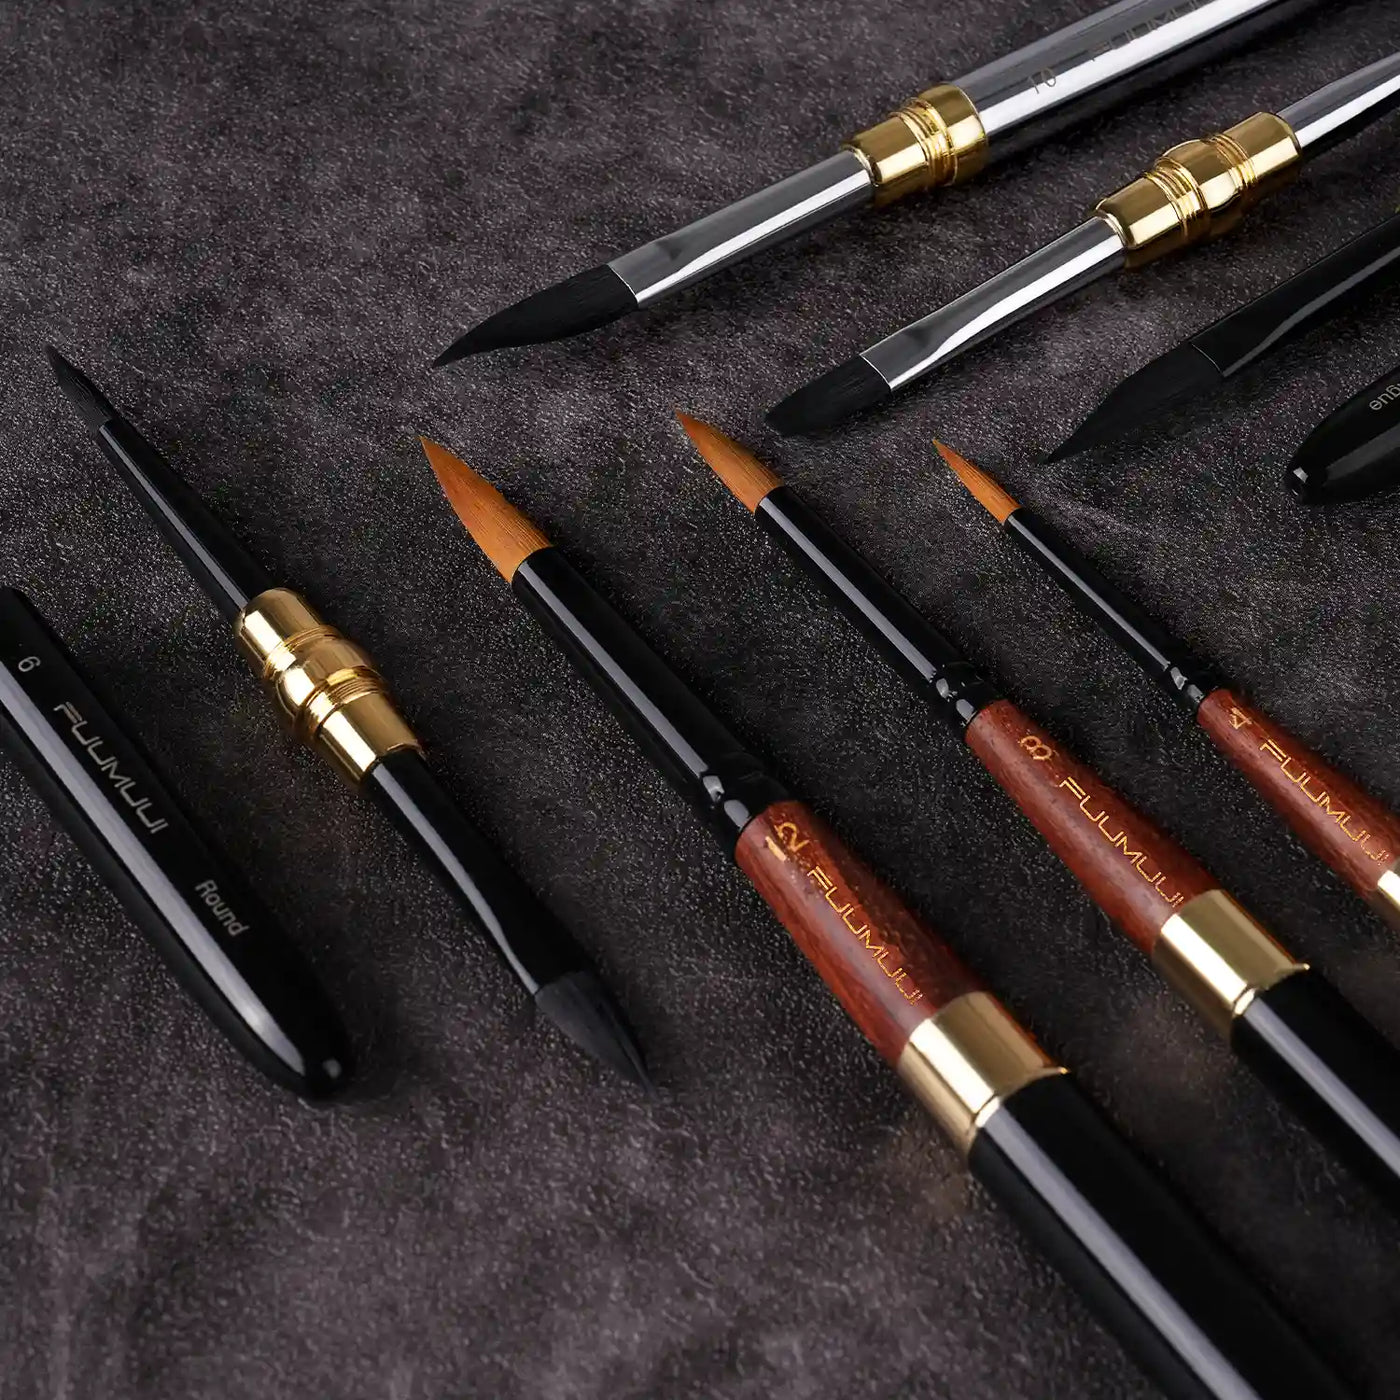
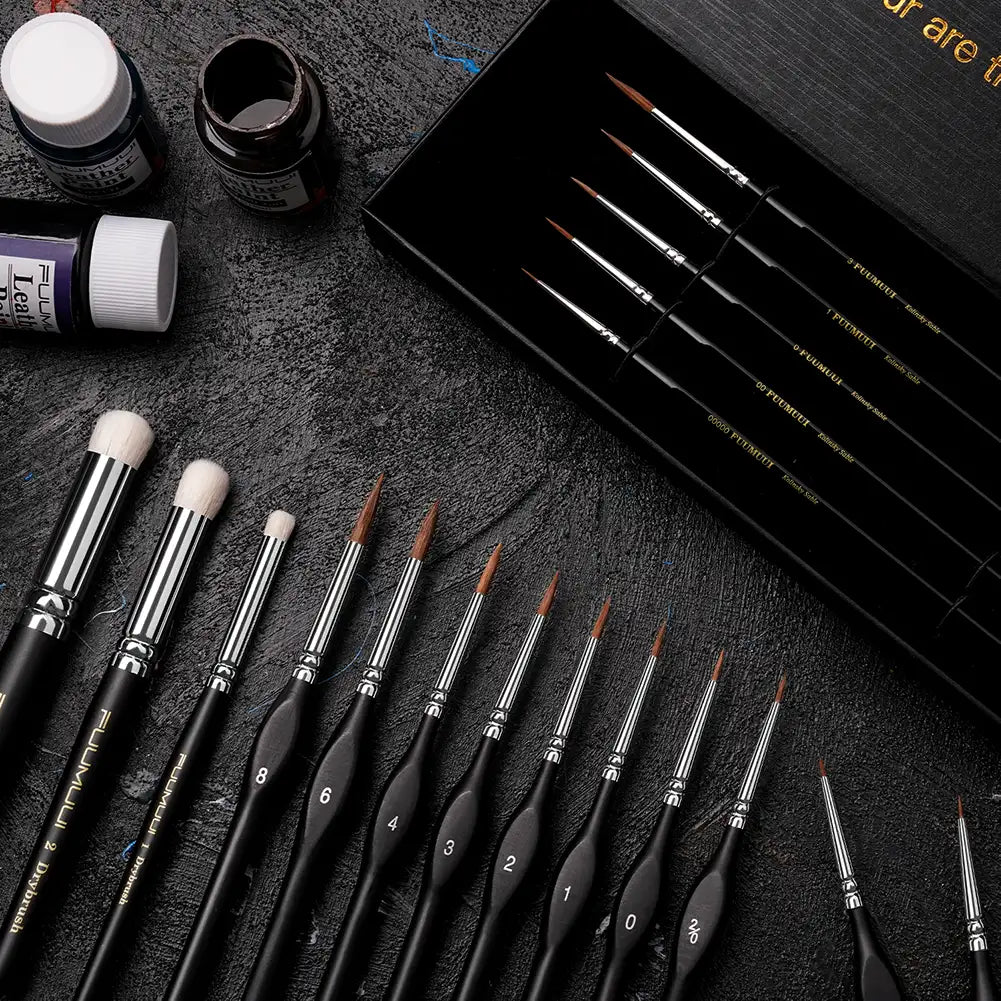
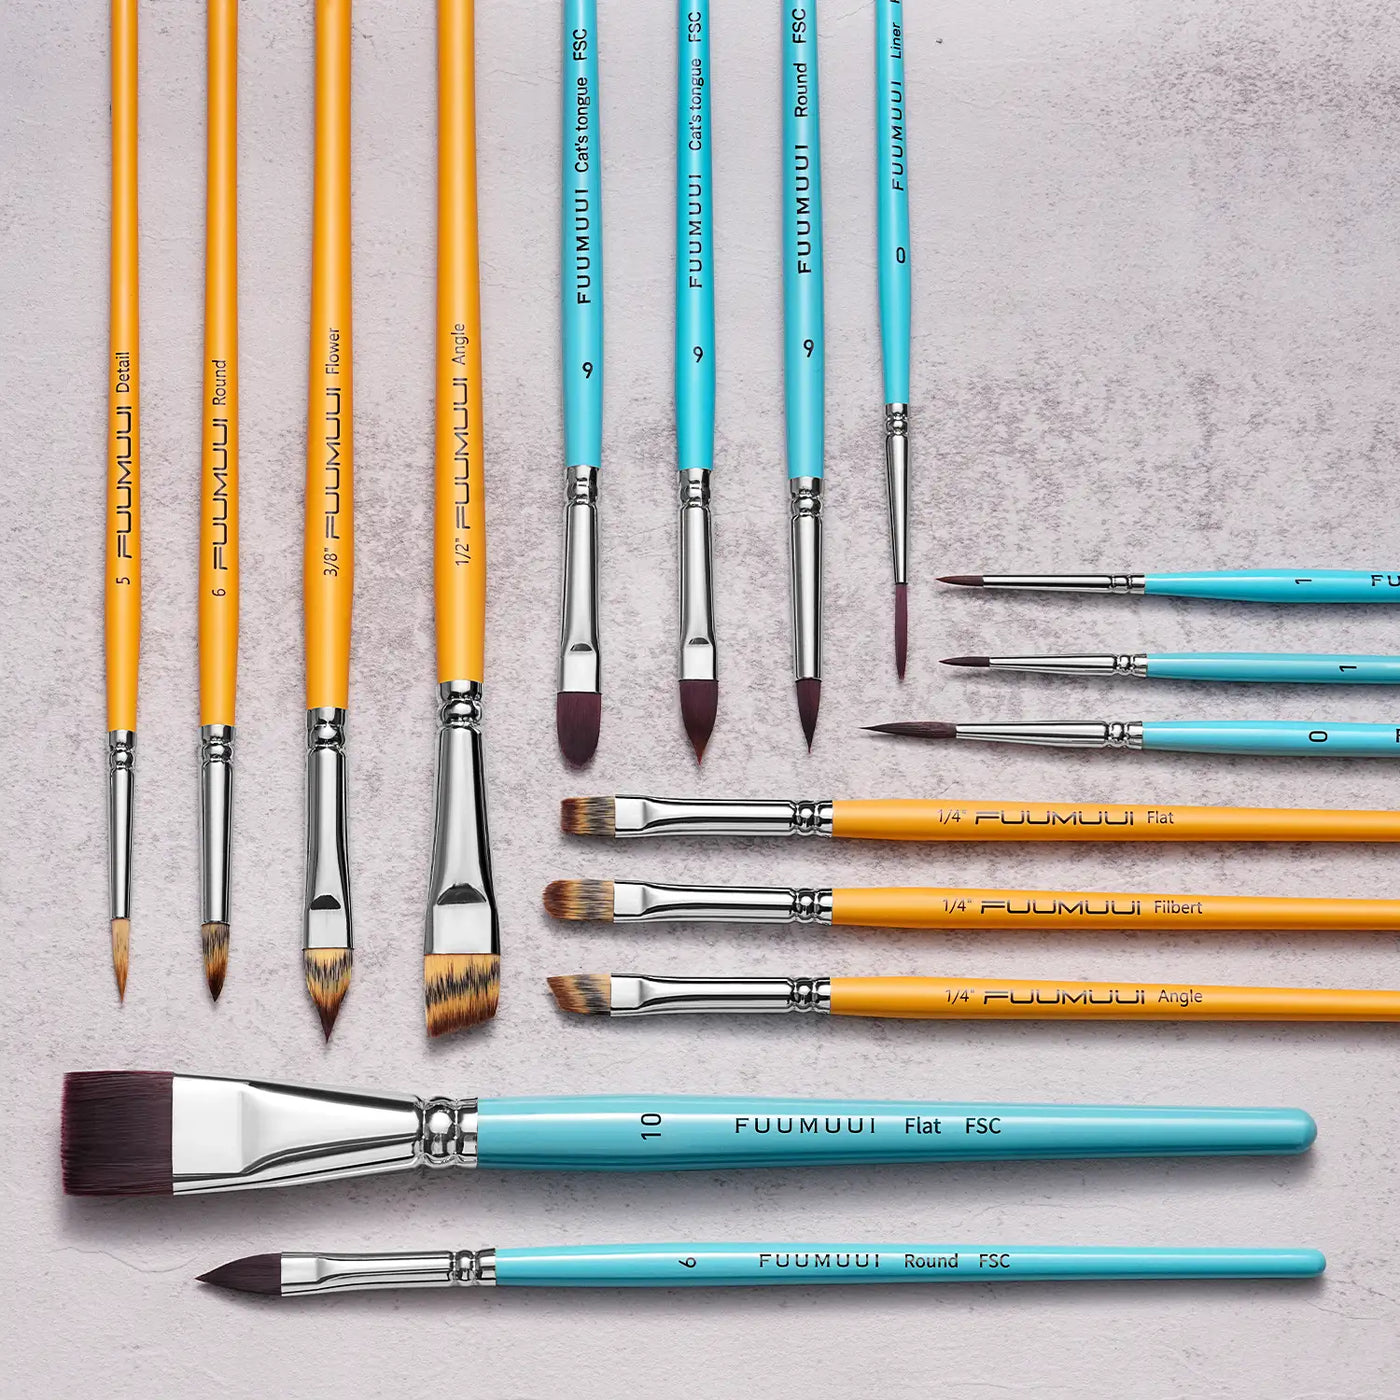
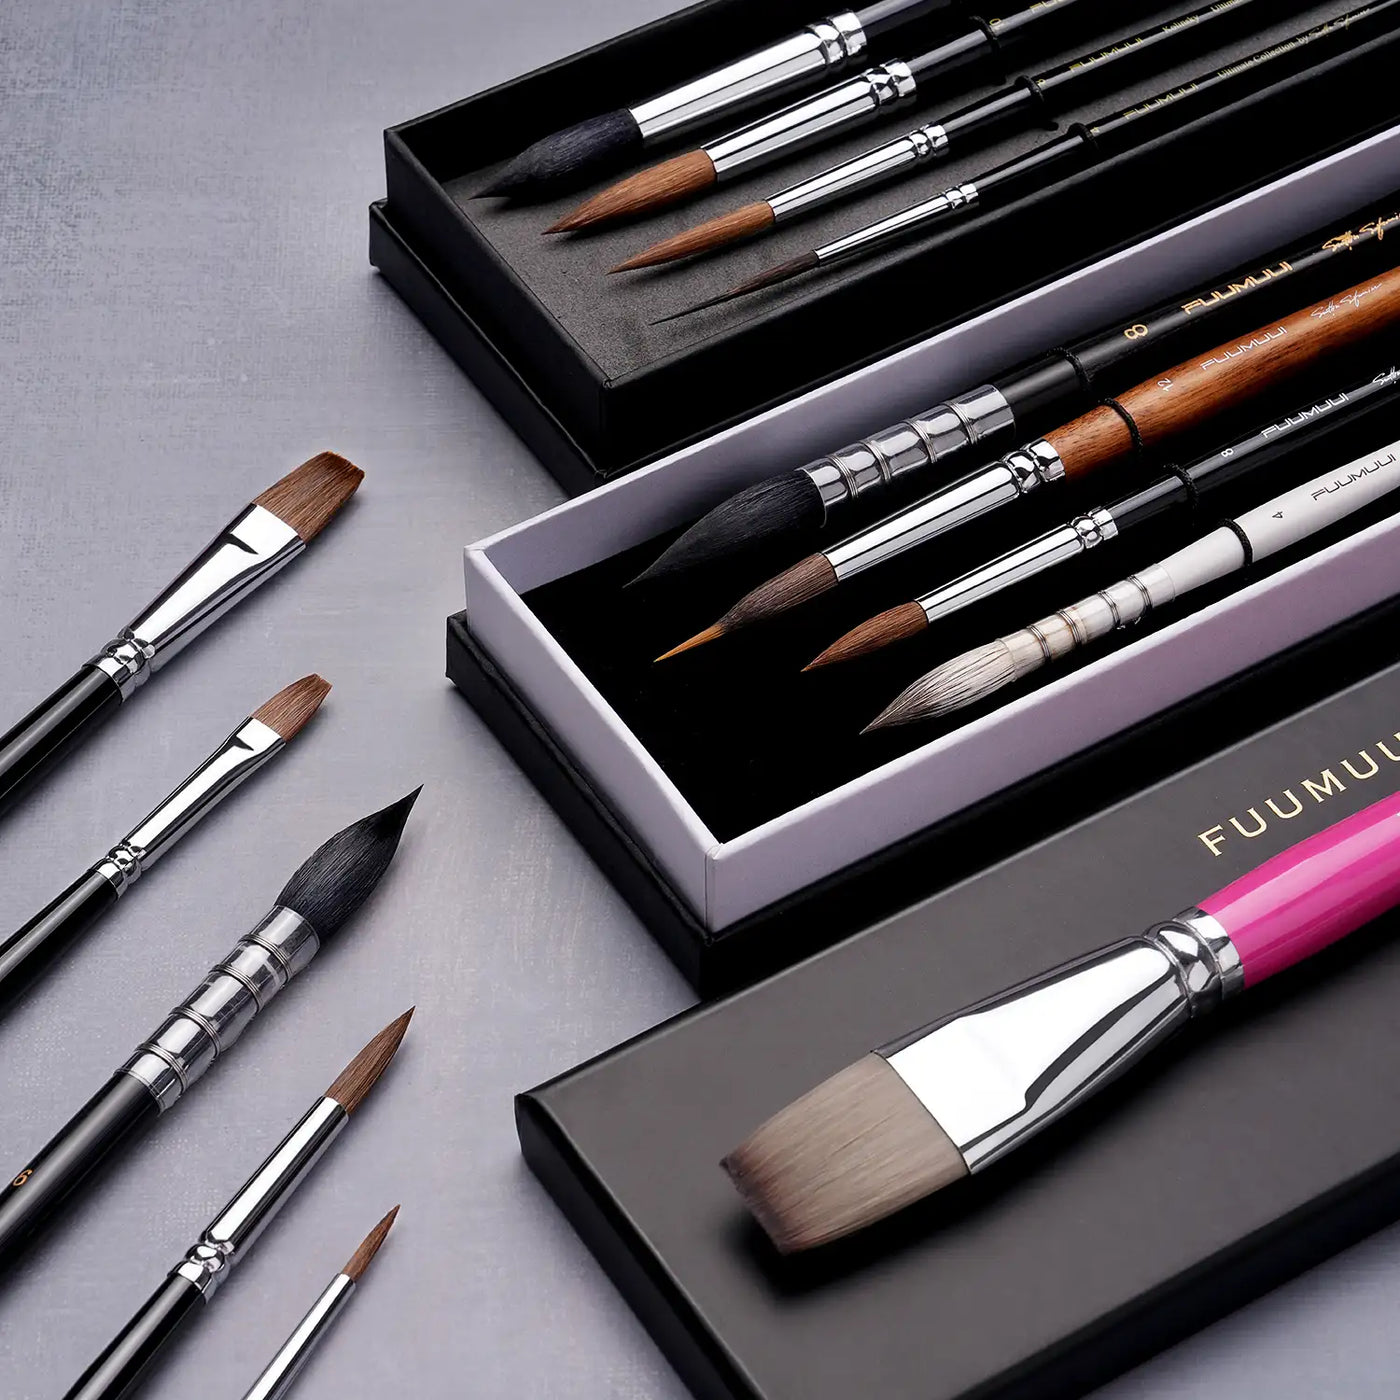
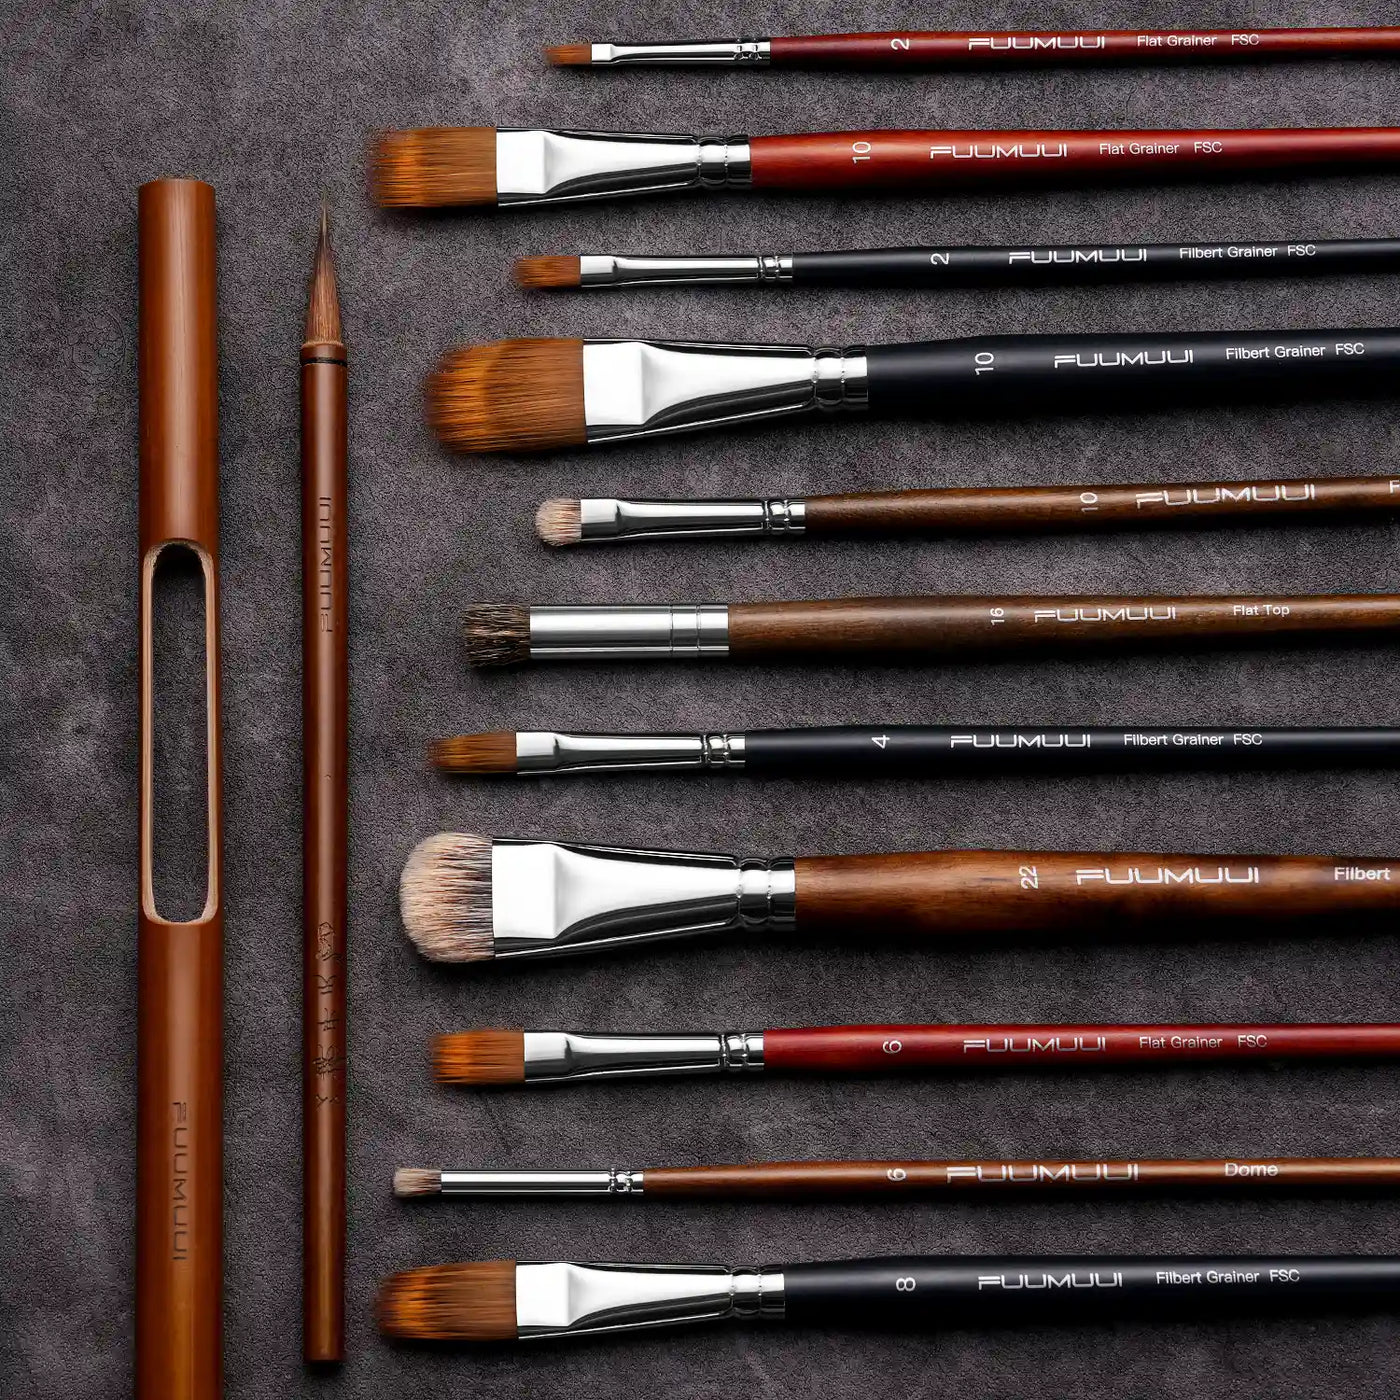
Brushes: A medium watercolor brush for washes and a small brush for fine details.
- Essentials: A pencil, eraser, palette, and clean water.
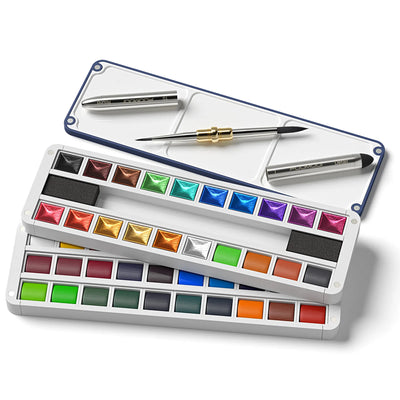
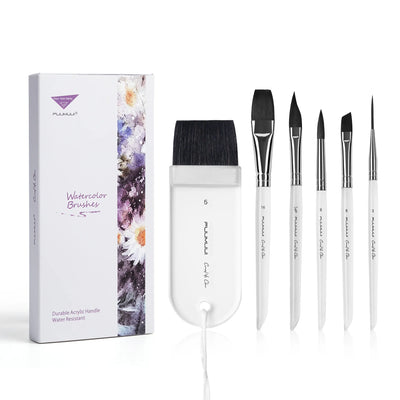
That's all you need! A few basic colors and brushes are enough to create four playful Halloween designs.
Card #1: A Spooky Moonlit Night
Let's start with a mysterious Halloween night featuring a glowing moon, twisted trees, flying bats, and tiny pumpkin lanterns. This simple watercolor Halloween scene is perfect for practicing color blending and silhouette painting.
01
Paint a Glowing Moon and Night Sky
Lightly sketch a large moon near the top of your card. Fill it with bright yellow, leaving a slightly lighter area near the center to suggest a soft glow.
Next, use green to paint the surrounding sky, blending a little yellow around the moon. Let the colors flow gently into one another to create a dreamy nighttime atmosphere.

02
Add Spooky Silhouettes
Once the background is completely dry, use black watercolor to paint a tall, crooked tree with twisted branches. Add a few tombstones and tufts of grass along the bottom of the card.
Then, paint several small bats across the sky. Keep their shapes simple—a few curved strokes and pointed wings are all you need!

03
Paint Tiny Pumpkin Lanterns
Use black watercolor to paint a few small pumpkin lanterns along the bottom of the scene. Add their rounded outlines, eyes, and cheeky grins with your detail brush.
Finish with a few extra bats in the sky, but leave enough open space to keep the composition balanced.

Artist Tip: Let the background dry before adding black silhouettes. This helps keep your trees, bats, and pumpkins crisp and distinct.
Card #2: A Haunted House on the Hill
Ready for something a little spookier? This haunted house watercolor card combines a glowing moon, a crooked house, and a winding path. The contrast between dark shadows and bright windows makes the scene feel mysterious without requiring complicated details.
01
Create a Soft Moonlit Sky
Sketch a large moon near the top of the card. Use pale yellow to wash the surrounding sky, then paint the moon with a brighter yellow.
Add a touch of orange-yellow around the moon to create a warm glow. Let the colors blend softly for a dreamy Halloween night.

02
Paint a Crooked Haunted House
Use dark purple and black to paint a crooked house with pointed rooftops and an uneven outline. Add a dark doorway and a few irregular windows to give the building its spooky character.
Fill the windows with yellow or yellow-orange. These little patches of light will stand out beautifully against the dark walls.

03
Add a Winding Path and Rolling Hills
Use light purple or gray-purple to paint rolling hills beneath the house. Leave a winding path leading toward the front door, then fill it with pale yellow to suggest moonlight.
Keep the edges of the hills loose and uneven. They don't need to look realistic—slightly wobbly shapes make the scene more playful.

04
Finish with Bats and Spooky Details
Once the main shapes are dry, add bare trees, a small fence, and a few tombstones in black. Paint several bats in the sky and deepen the purple shadows around the house.

Pro Tip: Keep the windows bright and the house dark. This strong contrast creates depth and makes your haunted house stand out.
Card #3: A Happy Halloween Pumpkin with Little Ghosts
For a friendlier take on Halloween, let's paint a cheerful pumpkin surrounded by tiny ghosts. This pumpkin watercolor design uses simple rounded shapes and expressive faces, making it a fun project for beginners.
01
Paint a Bright Orange Pumpkin
Sketch a large, rounded pumpkin in the center of your card. Start with a light yellow wash, then add orange to each pumpkin segment.
Use deeper orange along the edges and between the segments to create a sense of roundness. Leave a few lighter yellow areas to make the pumpkin look bright and full.

02
Give Your Pumpkin a Playful Face
Wait until the pumpkin is dry before adding its facial features. Use dark brown or black to paint two eyes, a small nose, and a wide, grinning mouth.
Finish with a green stem at the top. Give your pumpkin a friendly smile, a mischievous grin, or a slightly spooky expression—it's entirely up to you!

03
Add Cute Little Ghosts
Paint two or three little ghosts around the pumpkin. Use a very light brown or gray to sketch their outlines, leaving the bodies mostly white.
Once the outlines dry, add tiny dark eyes and mouths. Vary their shapes and expressions to give each ghost its own personality.

04
Add a Halloween Greeting
Write “HAPPY HALLOWEEN!” beneath the pumpkin using purple paint or a fine brush. Add a few small decorative lines or dots to finish the card.

Pro Tip: Preserve the light areas on your pumpkin instead of covering every section with orange. These highlights help create a rounded shape and make the colors feel more vibrant.
Card #4: A Candy-Filled Pumpkin Witch Hat
Our final design brings together three Halloween favorites: a grinning pumpkin, a purple witch hat, and colorful candy. With a bright background and bold shapes, this easy Halloween watercolor idea is playful, eye-catching, and full of personality.
01
Paint a Bright Yellow Background
Use yellow watercolor to cover the background of your card. Apply the paint evenly and let it dry completely before moving on.
A bright yellow background creates a cheerful contrast with the darker details you'll add later.

02
Paint a Pumpkin with a Bold Dark Backdrop
Sketch a large pumpkin in the center of the card. Paint it orange, then add deeper orange along the segment lines to create dimension.
Use black to draw the pumpkin's eyes, nose, and mischievous grin. Behind the pumpkin, paint a large dark circular shape to make the orange pumpkin stand out.

03
Add a Purple Witch Hat
Paint a pointed witch hat above the pumpkin using purple watercolor. Use a deeper purple for the brim and a few folds to give the hat more definition.
Add a red ribbon and several tiny yellow stars for a magical finishing touch. Your pumpkin is almost ready for a midnight Halloween party!

04
Fill the Pumpkin's Grin with Colorful Candy
Paint little candies in red, yellow, green, and blue inside the pumpkin's grin. Add a few bats and playful black accents around the card, leaving some breathing room.
Your pumpkin is ready for a sweet Halloween night!

Pro Tip: Let each color dry before adding neighboring details. This helps keep the candy shapes distinct and prevents the bright colors from blending together.
Watercolor Tips for Halloween Card Beginners
A few simple techniques can make your Halloween watercolor painting easier and more enjoyable.
- Start with simple shapes. Build your design from circles, triangles, and loose outlines before adding details.
- Let each layer dry. Dry paper helps you create clean silhouettes, facial features, and decorative lines.
- Keep your color palette simple. Yellow and black create a mysterious atmosphere, while orange and purple bring classic Halloween character to your cards.
- Use light and dark to create contrast. Bright windows, glowing moons, and yellow highlights stand out against deeper backgrounds.
- Don't worry about perfect lines. Crooked trees, uneven pumpkins, and funny ghost faces make handmade cards more charming.
- Add your own creative touches. Try hiding a tiny ghost in a window, painting extra bats, or writing a playful Halloween greeting.
Remember, watercolor is all about exploring how colors and water work together. Let yourself experiment, and don't be afraid of a few unexpected brushstrokes!
Make Your Halloween Watercolor Cards Your Own
Four cards, four spooky-cute ways to celebrate Halloween! Inspired by the playful charm of vintage Halloween postcards, pick your favorite design, play with the colors, and add your own little twists.
Which one will you paint first?
👻Happy Halloween and happy painting from FUUMUUI!


